How can we help you?
Browse Categories
Import contacts from a CSV to a Contactzilla address book
Before starting the import process, it’s important to understand a few key points about preparing your CSV file for a successful import.
Before You Begin
- Ensure you have created a team and address book where you want to import the contacts
- Each contact field should be in a separate column
- If using Excel or Google Sheets, check your data hasn’t combined into single cells (use Data > Split text to columns)
- Once your CSV is ready, you’ll use Contactzilla’s field mapping tool to match your CSV columns with the appropriate contact fields.
Tip 💡: Download our template CSV to see the correct structure
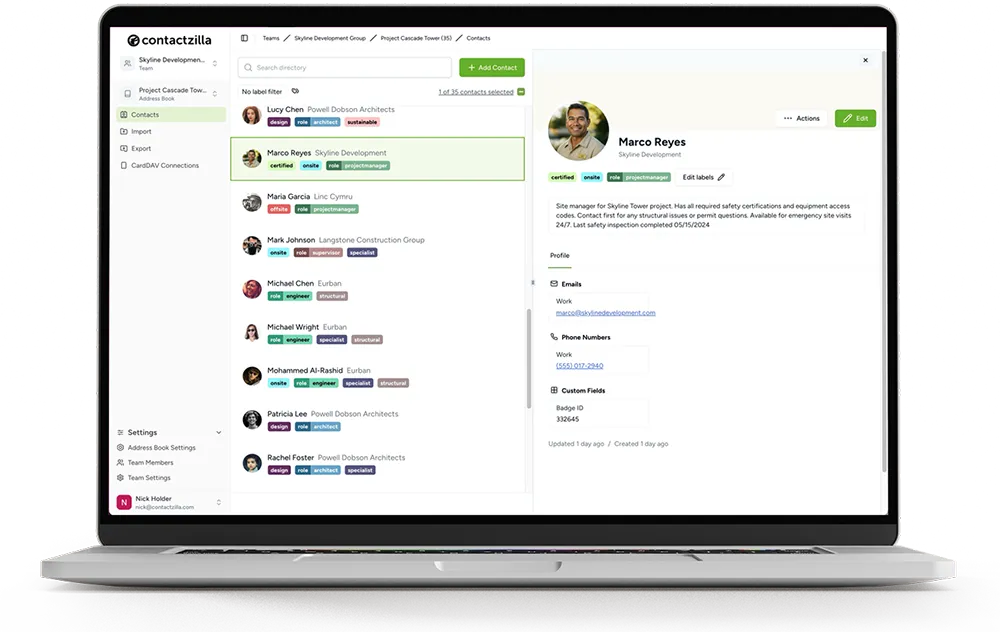
1) Navigate to the address book you wish to import the contacts into

2) With the correct address book selected select ‘Import’ from the left menu and select ‘CSV’.

3) The following screen is where all of your import operations will be recorded so you can keep track. Click the ‘+ Import CSV’ Button

4) Click in the upload box or drag and drop your CSV

5) When you upload your CSV file, you’ll see the mapping screen where you match your CSV columns with Contactzilla’s contact fields. For each column in your CSV, select the corresponding Contactzilla field from the dropdown menu – for example, match your “First Name” column to Contactzilla’s first name field. This ensures your data imports correctly even if your column names differ from Contactzilla’s standard fields.

Tip 💡: If you want a quick way of adding labels to your contacts during the import process you can create a column in your spreadsheet (e.g. labels) and then during the mapping process, map that column to our ‘Contact Label’ field. You can easily add labels to contacts within out interface after import as an alternative.

6) After mapping your columns to our contact fields press ‘Continue’ from the bottom of the screen and you will see the progress of your import. When it is complete you can press ‘Return to Contacts’ to view your imported contacts.

7) Your contacts will now show up in the address book you originally chose for import.

Updated on February 17, 2026
Still need help?
Our support team is available to assist you with any questions or issues you may have.

