How can we help you?
Browse Categories
2 min read
Setting up a Team and Address Book
Teams sit at the top level of Contactzilla. A team is where you invite members and assign their access levels. Within each team, you can create multiple address books to organize your contacts however you need.
Watch our video guide: For a visual walkthrough of team setup and management in Contactzilla, check out the video below. This guide demonstrates how to create teams, add members, and manage permissions.
What is a Team?
- A container for address books and team members
- Can represent departments, projects or even entirely different organizations
- Members can be anyone with a valid email address
- Members can belong to multiple teams simultaneously
- Access levels can be controlled per team member
What is an Address Book?
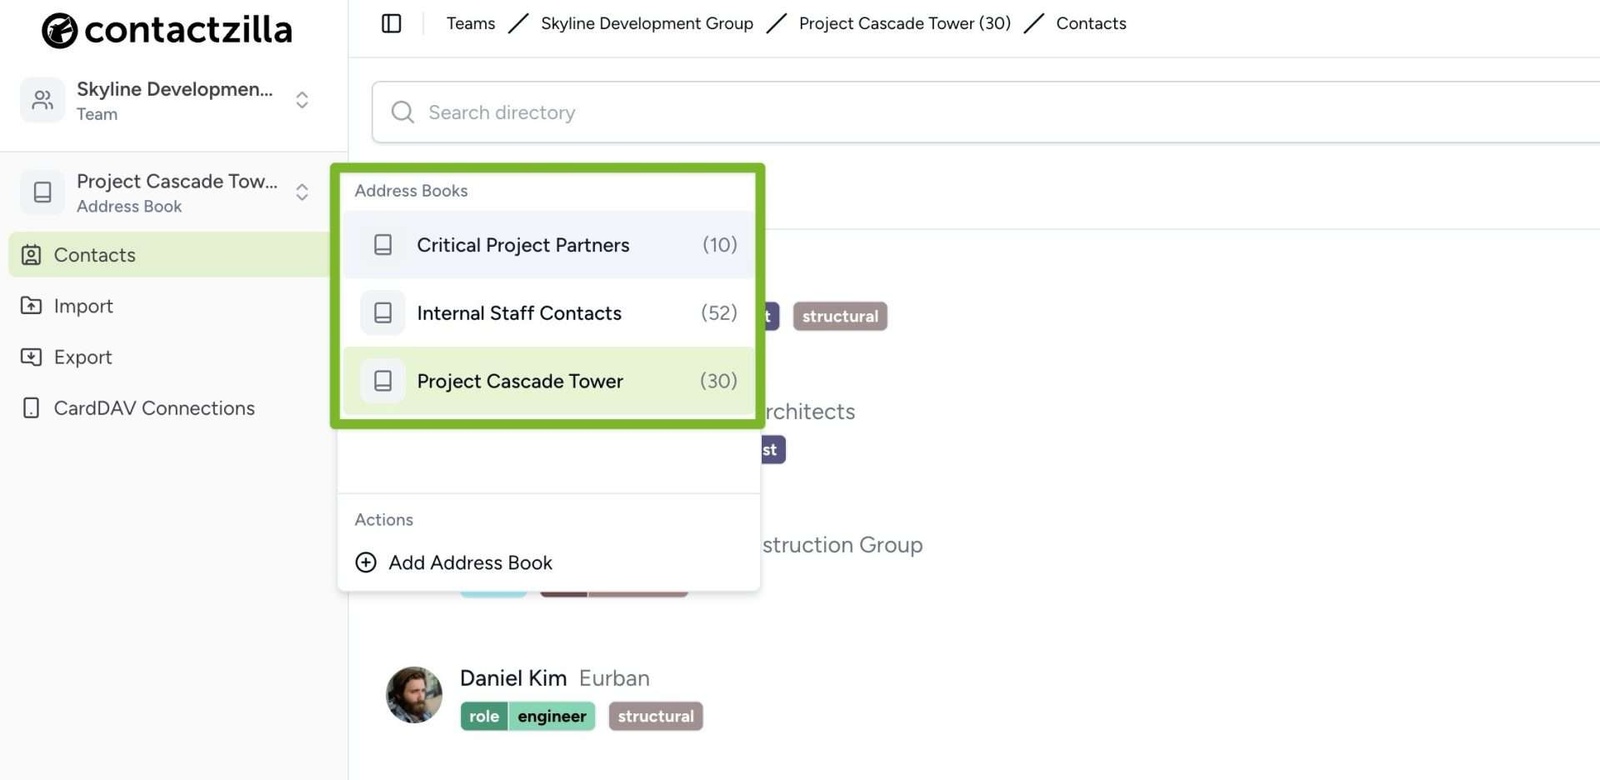
- A collection of contacts within a team
- You can have unlimited address books per team
- Organize contacts by department, project, or any logical grouping
- Can be selectively shared with team members
Important Notes
- Team members can have access to multiple teams
- Access can be controlled at both team and address book levels
- Entire address books or just selections can be synchronized to devices via our CardDAV connection creator.
Setting Up Your First Team and Address Book
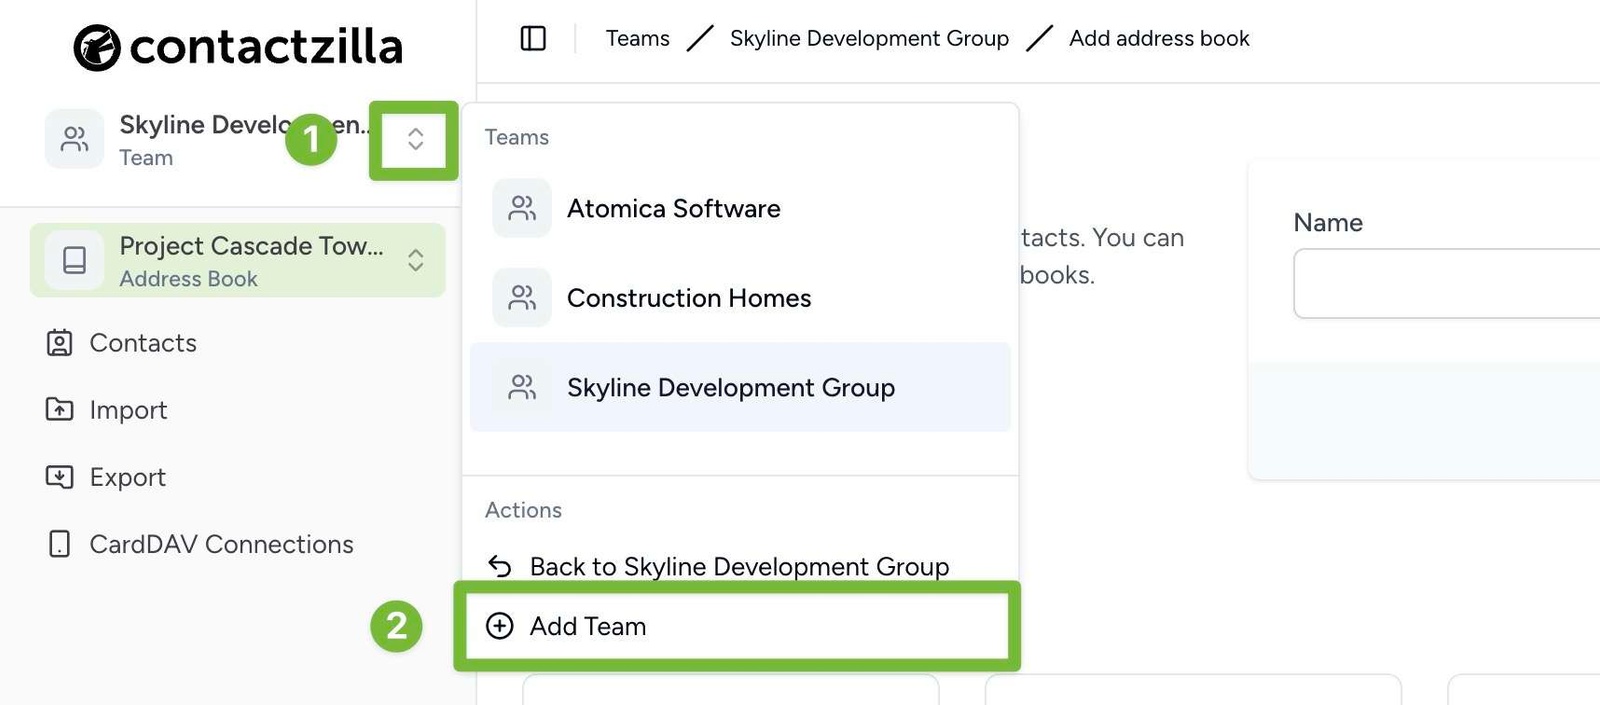
1) Click on the ‘Team’ menu in the top left corner of the screen.
2) Choose ‘Add team’.
3) Enter your team name and hit ‘Save’
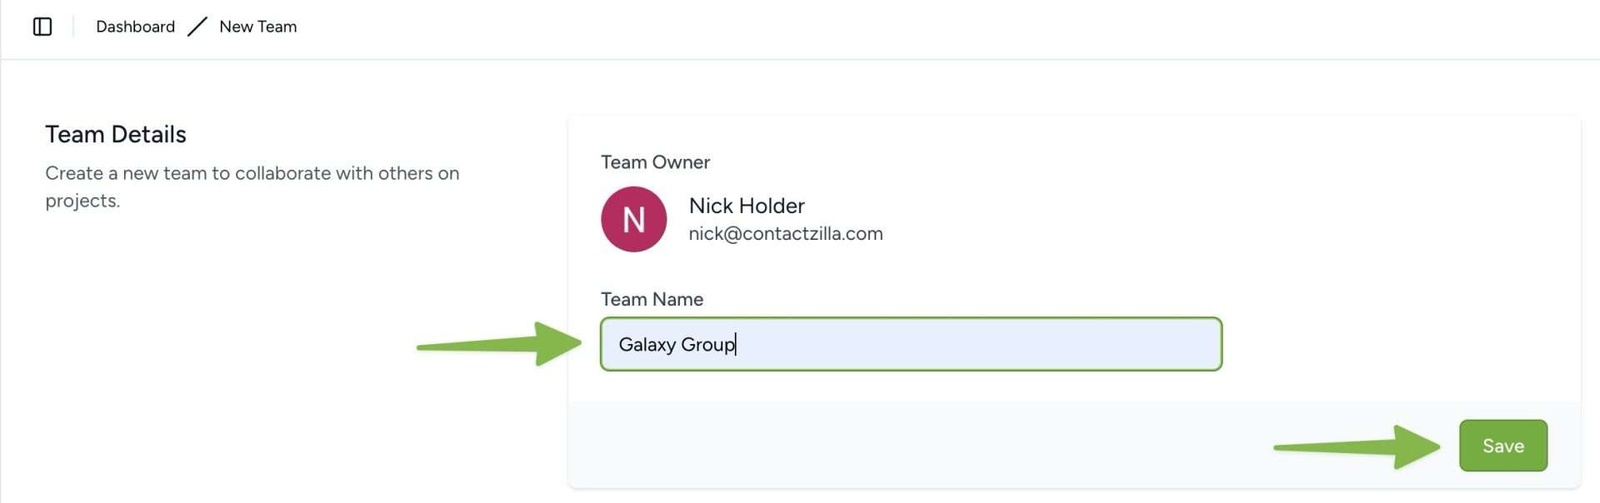
4) You are then prompted to Create an Address Book which will reside within the team. Choose a name and hit ‘Create’

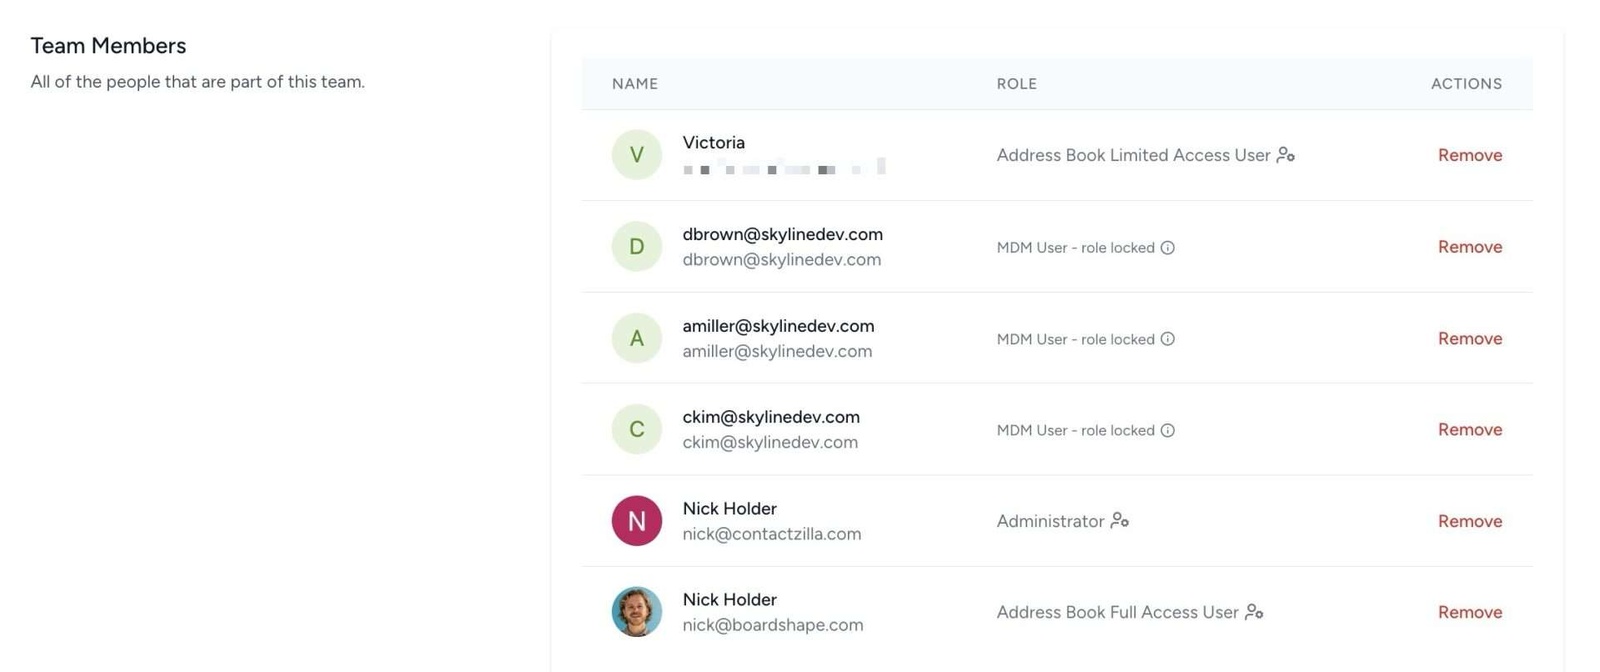
Adding Team Members
Your team is now setup and you can now add some team members.
1) Click the ‘Team Members’ menu in the bottom left

2) Enter the email address of the team member, select there role and permissions and click add.
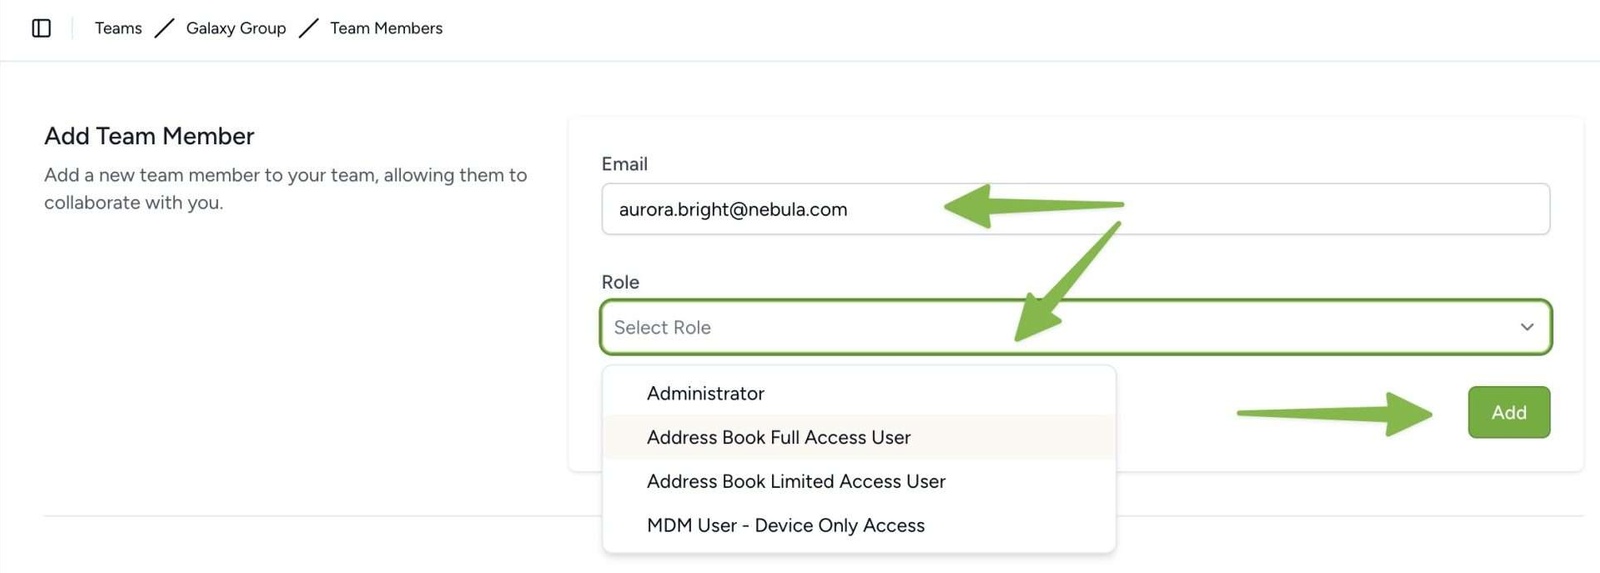
3) An invite email is automatically sent to that person and when they accept it and register their Contactzilla account they will be added to the team with the permissions you have selected.

Learn more about managing team member access levels and permissions here.
Next Steps
Still need help?
Our support team is available to assist you with any questions or issues you may have.

