How can we help you?
Browse Categories
1 min read
Using Labels to Organize and Filter Contacts
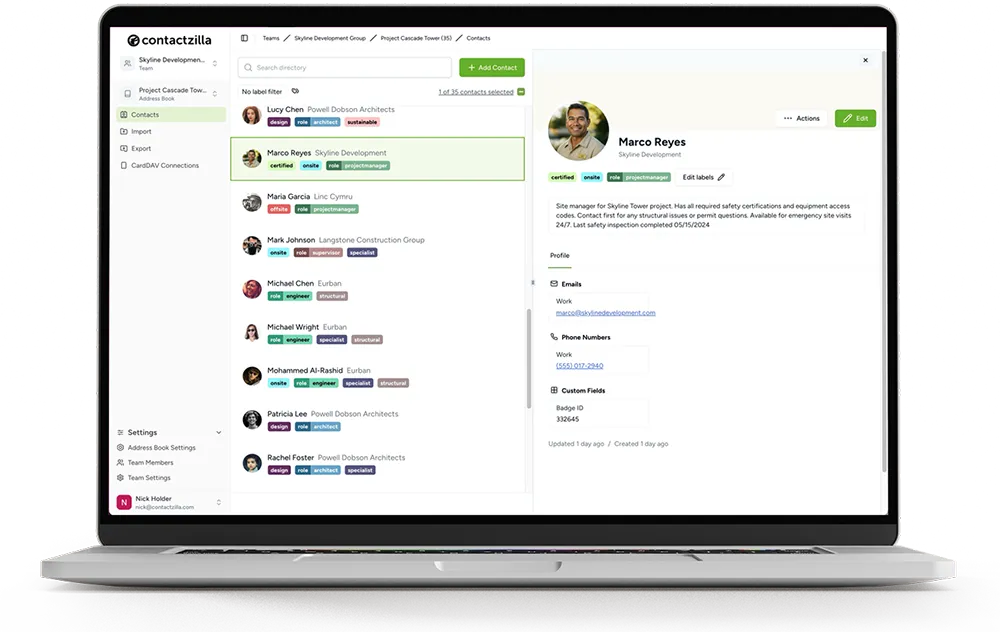
Labels in Contactzilla are a powerful way to group and organize your contacts. You can tag contacts with labels to create logical groupings – like departments, projects, or teams – making it easy to find and manage related contacts. One of the most powerful features is the ability to create CardDAV connections that only sync contacts with specific labels – perfect for sharing selective contact lists with different team members or departments. There are two types of labels in Contactzilla
Standard Labels

- Simple tags you can add to any contact
- A contact can have multiple standard labels
- Perfect for categorizing contacts by project, location, or status
- Can be color-coded for easy visual organization
Special Group Labels

Our innovative group labels (using prefixes like role: or department:) provide powerful organizational control. Unlike standard labels, contacts can only have one label from each group – ensuring clean hierarchies and preventing conflicting categorizations. Learn more about this powerful feature in our group labels guide.
Watch the short walkthrough showing how to filter contacts by labels (match any vs match all), export filtered results to CSV, and apply/remove labels in bulk. It also covers group labels (prefix:value) and how they help keep label-based sync rules clean for selective CardDAV deployments.
Adding Labels to Individual Contacts
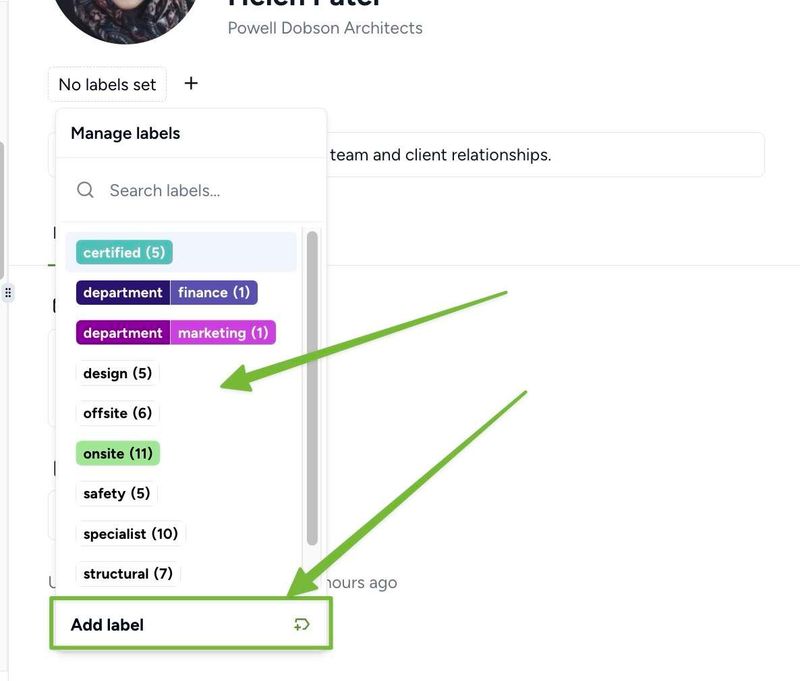
1) From your chosen address book, select a contact. In the details pane, click the ‘+’ next to ‘No labels set’.

2) Select the desired label from the list to assign it to that contact. Use the ‘Add label’ button at the bottom of the list to create a new label.
Adding Labels to Multiple Contacts simultaneously
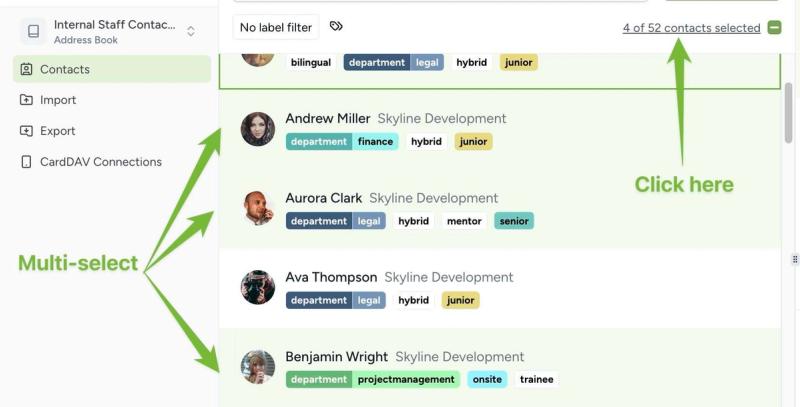
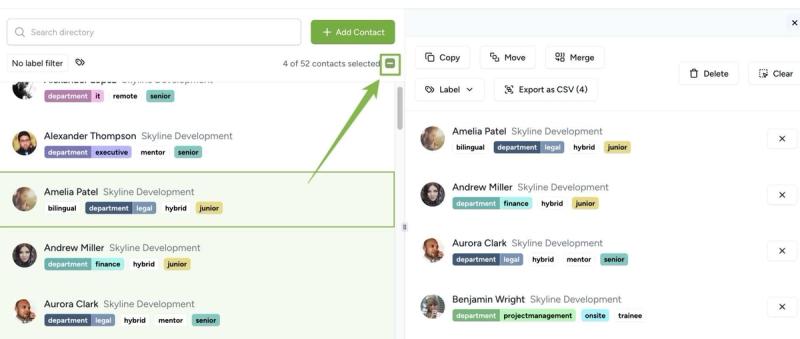
1) Select multiple contacts using Shift+click (PC) or Command+click (Mac). Click the selection counter at the top (e.g., ‘4 of 52 contacts selected’).
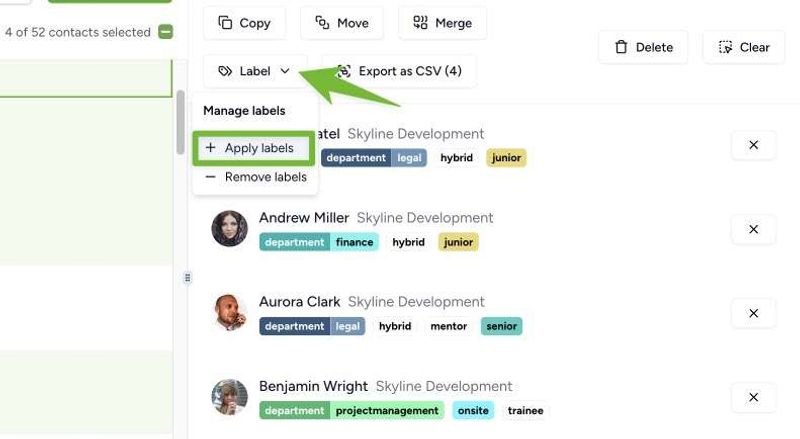
2) In the contact list panel, click the Labels dropdown and choose ‘Apply Labels’.
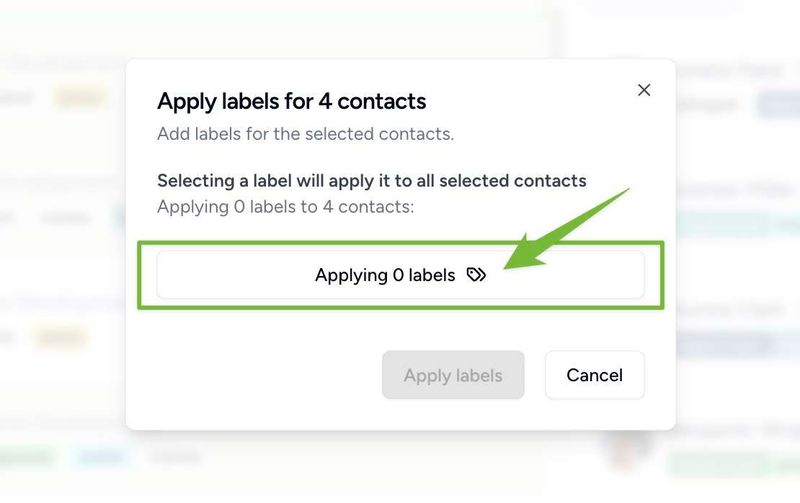
3) In the dialog box that appears, click ‘Applying 0 labels’.
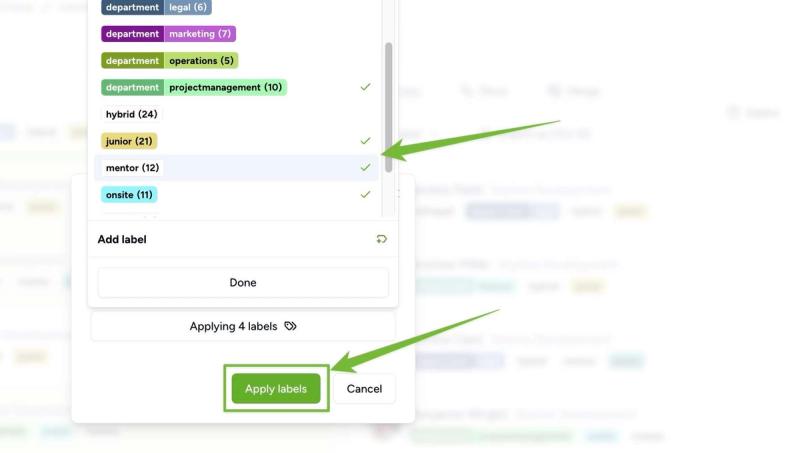
4) Select as many labels as you want to apply and click ‘Apply Labels’. Note that when using group labels such as department:finance contacts can only have one label from each group – learn more about group labels and how they work.
5) To deselect those contacts click the check mark next to the selection counter.
Filtering Contacts Using Labels
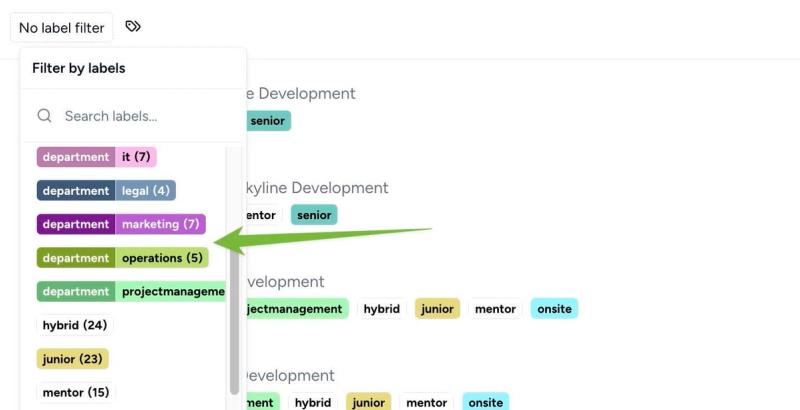
1) At the top of your contacts list, click the label icon next to ‘No label filter’.
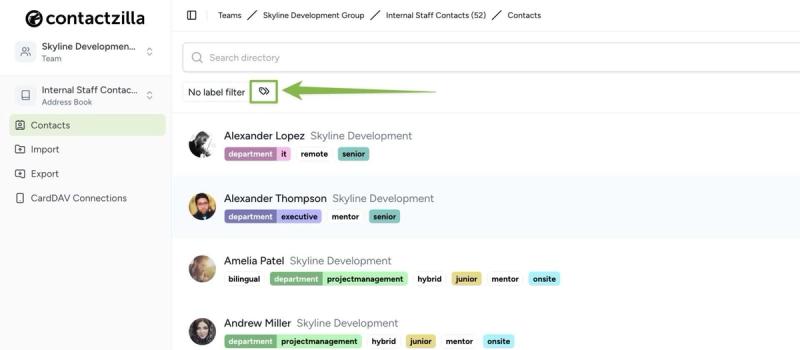
2) Select a label from the list. You will be shown only the contacts with that label. To refine the selection further you can repeat the process to add more labels. You can clear the selection with the ‘Clear Selection’ button at the bottom.
Using Labels with CardDAV Connections
Learn how to set up CardDAV connections that sync only contacts with specific labels in our guide to setting up selective CardDAV connections.
Updated on February 17, 2026
Still need help?
Our support team is available to assist you with any questions or issues you may have.

