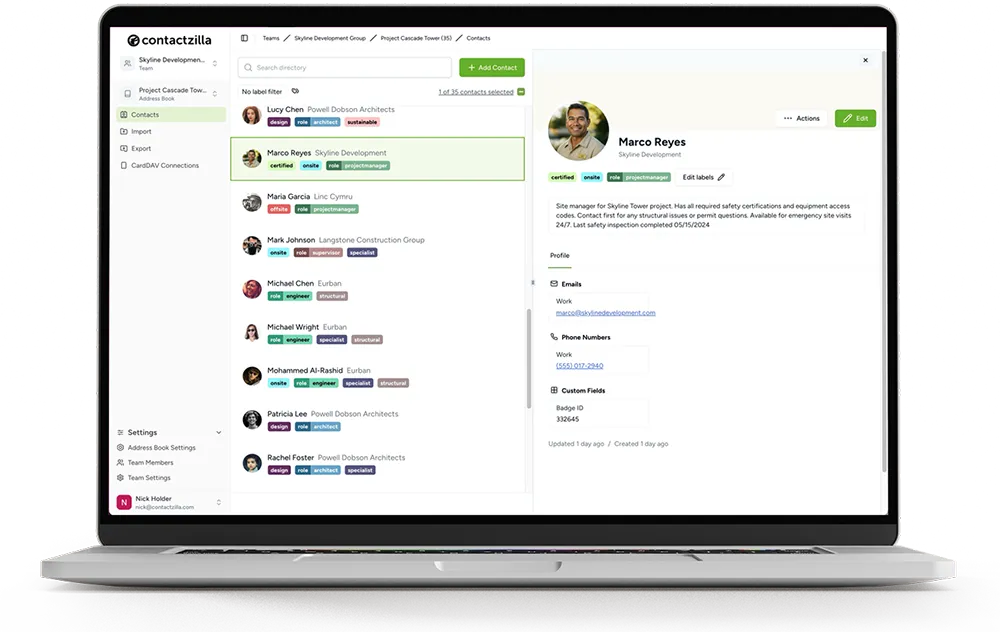
Sync Shared Address Books to Mac Contacts in Under Two Minutes
Generate a device connection, download a mobileconfig profile, and double-click to install — your team's shared contacts appear in macOS Contacts ready to use.
Getting a shared Contactzilla address book onto a Mac doesn't require entering server URLs, ports, or CardDAV credentials by hand. Instead, Contactzilla generates a .mobileconfig profile that macOS recognises natively — double-click it, approve the install in System Settings, and the address book appears in the Contacts app on the desktop.
This walkthrough takes you through the entire flow: creating a device connection for OS X, choosing the right access type (full read/write, full read-only, or selective read-only), downloading the profile, installing it through macOS settings, and verifying that contacts have synced into the Contacts app.
The whole process takes under two minutes per Mac. Once installed, the address book stays synced — changes made in Contactzilla appear on the Mac, and (with read/write access) edits made on the Mac flow back to Contactzilla.
Open Device Connections for the Address Book
Start inside the Contactzilla address book you want to sync. From the address book screen, navigate to Device Connections — this is where every per-device, per-user connection to an address book is created and managed.
Device connections in Contactzilla are scoped to a specific platform and a specific team member. That means each Mac, iPhone, or Android phone gets its own credentials, which is what makes it possible to revoke access for a single device without disrupting anyone else on the team.
- Open the address book you want to share with the Mac
- Click into the Device Connections area from the address book menu
- You'll create one connection per Mac that needs the address book
Select OS X and Assign to a Team Member
In the device connections screen, open the platform drop-down and select OS X. This tells Contactzilla to generate a profile in the .mobileconfig format that macOS understands, rather than an iOS, Android, or generic CardDAV connection.
Next, assign the connection to a specific team member. In the demo, the presenter assigns the connection to themselves — but if you're an admin setting up a colleague's Mac, pick their user from the list. The connection is tied to that person's identity, which matters for audit logs and for revocation later.
- Choose OS X from the platform drop-down
- Assign to a team member — yourself or the colleague whose Mac this is for
- Each team member who needs the address book on their Mac gets their own device connection
Don't reuse one device connection across multiple Macs. Generate a fresh one per device so you can revoke access to a single lost or retired Mac without disrupting the rest of the team.
Pick the Right Access Type
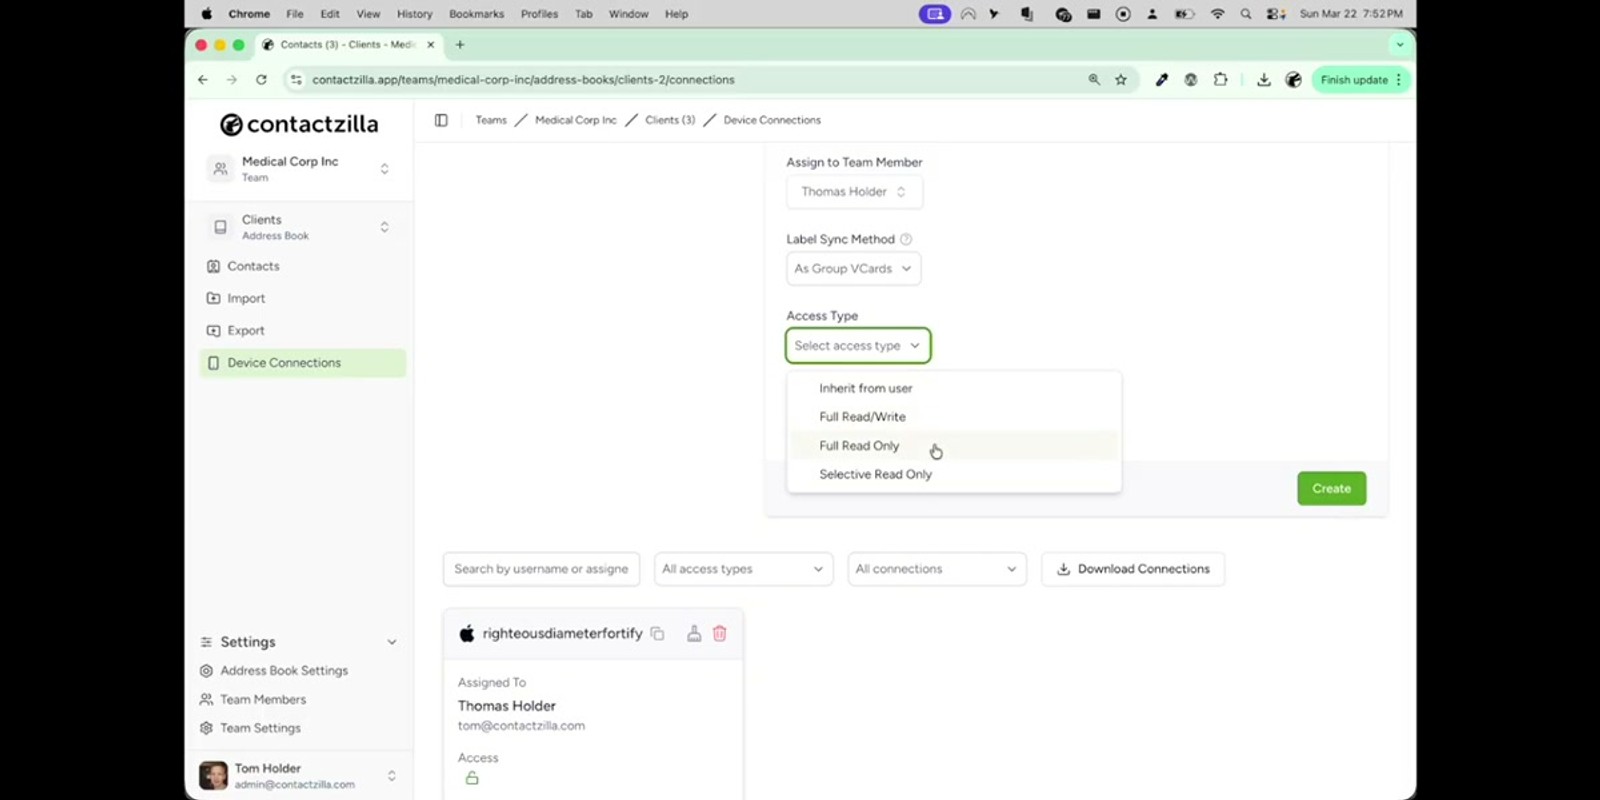
Before creating the connection, choose how much access this Mac should have to the address book. Contactzilla offers three options:
- Full read/write — the Mac can view, edit, add, and delete contacts. Changes sync both ways. This is the default in the demo and the right choice for team members who actively maintain the address book. - Full read-only — every contact in the book is visible on the Mac, but the user can't make changes. Good for sales reps or contractors who need to look up details but shouldn't be editing the source of truth. - Selective read-only — only a filtered subset of contacts appears on the Mac, still in read-only mode. Useful when one team or role should only see contacts tagged for them.
Match the access type to the user's role. You can always revoke and reissue with different access later — the profile on the Mac just stops working when revoked.
- Full read/write — bidirectional sync, full edit access
- Full read-only — see everything, change nothing
- Selective read-only — see only a filtered subset, read-only
Create the Device Connection and Reveal Credentials
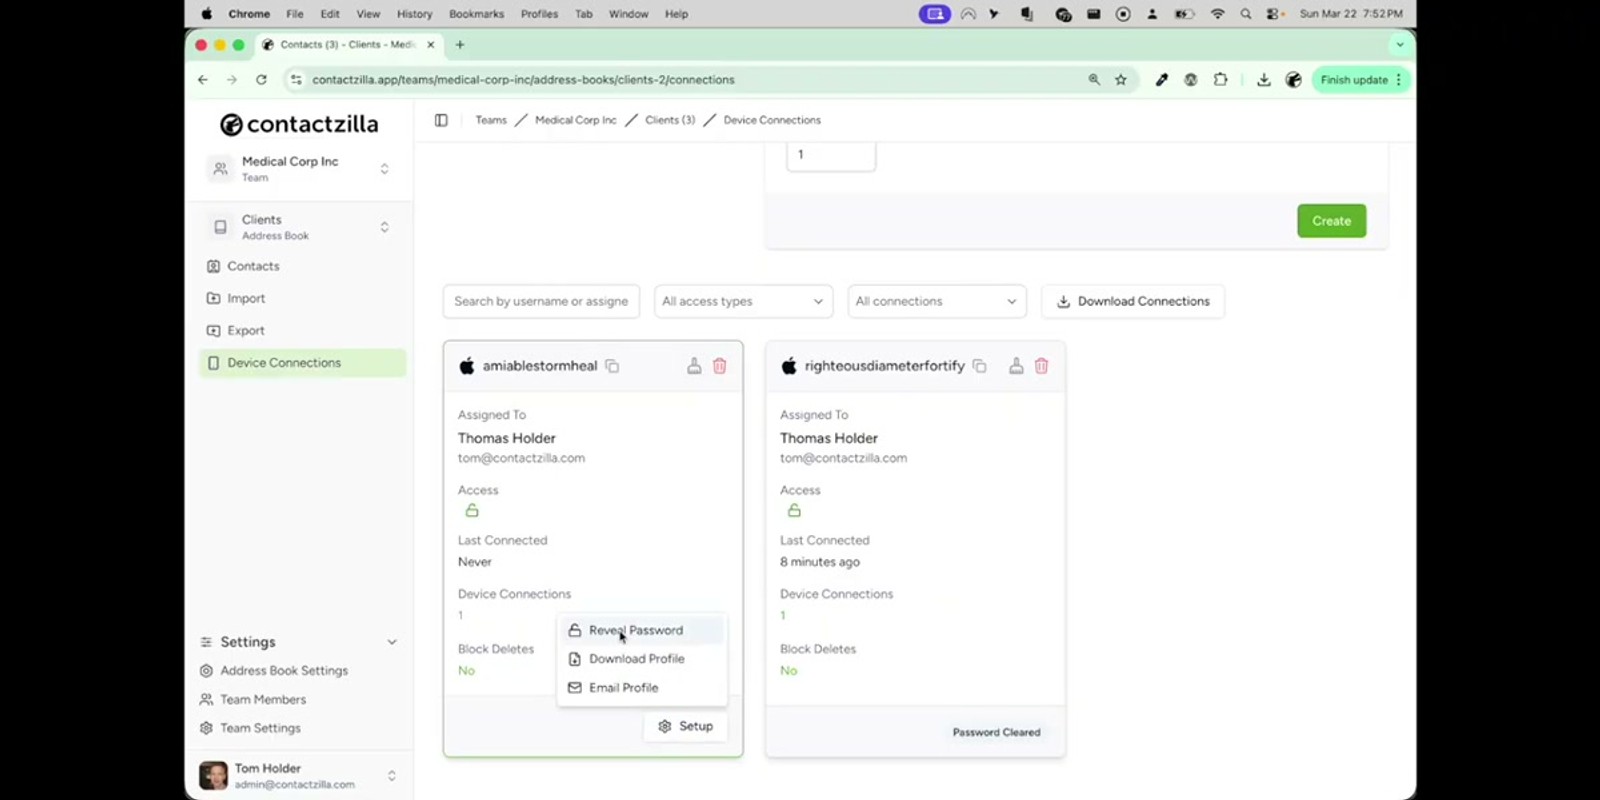
Click to create one device connection. Contactzilla generates a unique username and password specifically for this Mac and this team member.
You'll see a username you can copy directly from the screen, and a Reveal option that exposes the password. These credentials exist for two reasons. First, they're what the eventual profile will use behind the scenes to authenticate against Contactzilla's CardDAV servers. Second, if you'd rather skip the profile and configure things manually, you can add a CardDAV account in macOS Contacts and paste these credentials in by hand.
For most setups, the profile route is simpler — so leave the credentials alone and move to the next step.
- Click the button to create the connection
- Username appears immediately — copy if you need it
- Click Reveal to show the password for manual setup
- Manual CardDAV setup is supported but the profile method is faster
If you ever need to troubleshoot syncing, the revealed username and password are what you'd use to test a manual CardDAV connection in macOS Contacts — useful for ruling out profile-installation issues vs. credential issues.
Download the mobileconfig Profile
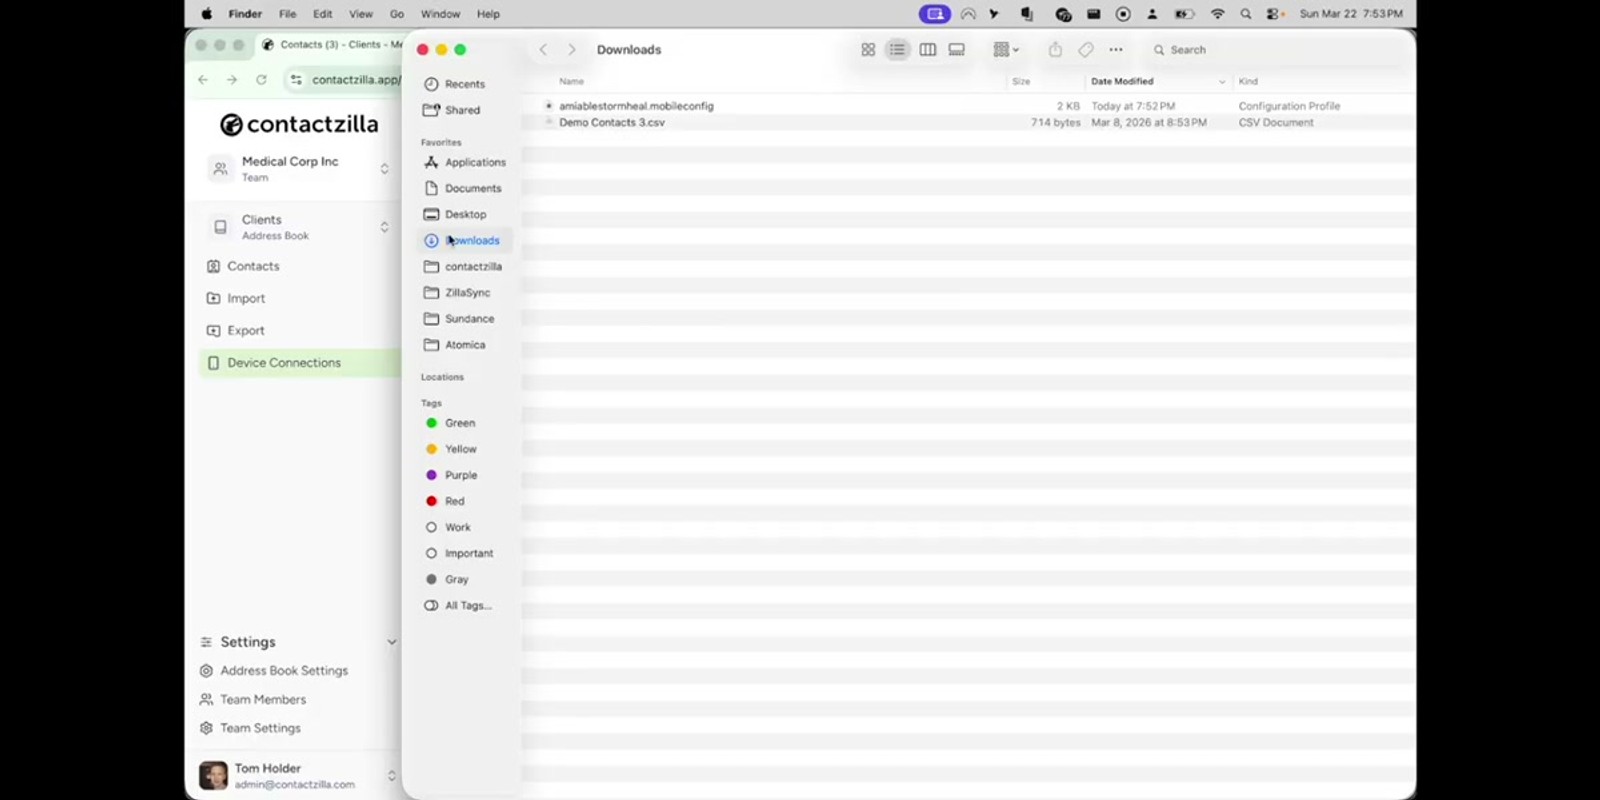
Open the setup menu for the new device connection and choose Download Profile. Your browser downloads a .mobileconfig file — this is Apple's standard format for distributing pre-configured account settings to Macs, iPhones, and iPads.
The file lives in your Downloads directory by default. Open Finder, navigate to Downloads, and you'll see the .mobileconfig file there. Double-click it to begin the installation handoff.
macOS won't install the profile silently — instead, it shows a notification that the profile has been downloaded. Click OK on this prompt. The profile is now waiting in your system settings, ready for you to approve.
- From the device connection, open Setup → Download Profile
- The file lands in
~/Downloadsas a.mobileconfig - Double-click the file in Finder to hand it off to macOS
- macOS shows a "Profile Downloaded" notification — click OK
Install the Profile from System Settings
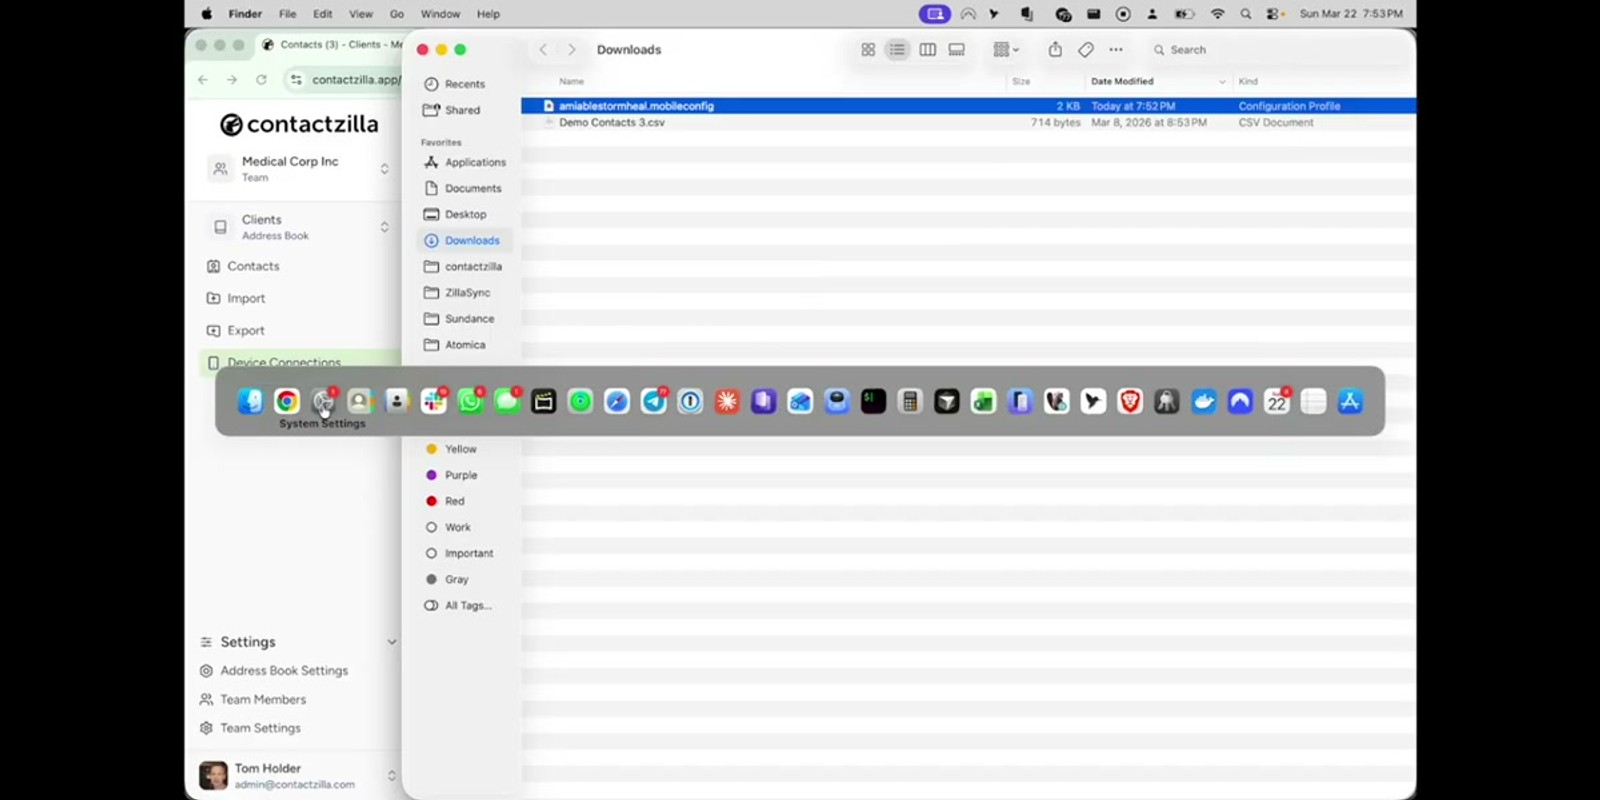
Open macOS System Settings (System Preferences on older versions). On the left-hand sidebar you'll see a new entry labelled Profile Downloaded — this only appears when there's a pending profile waiting to be installed.
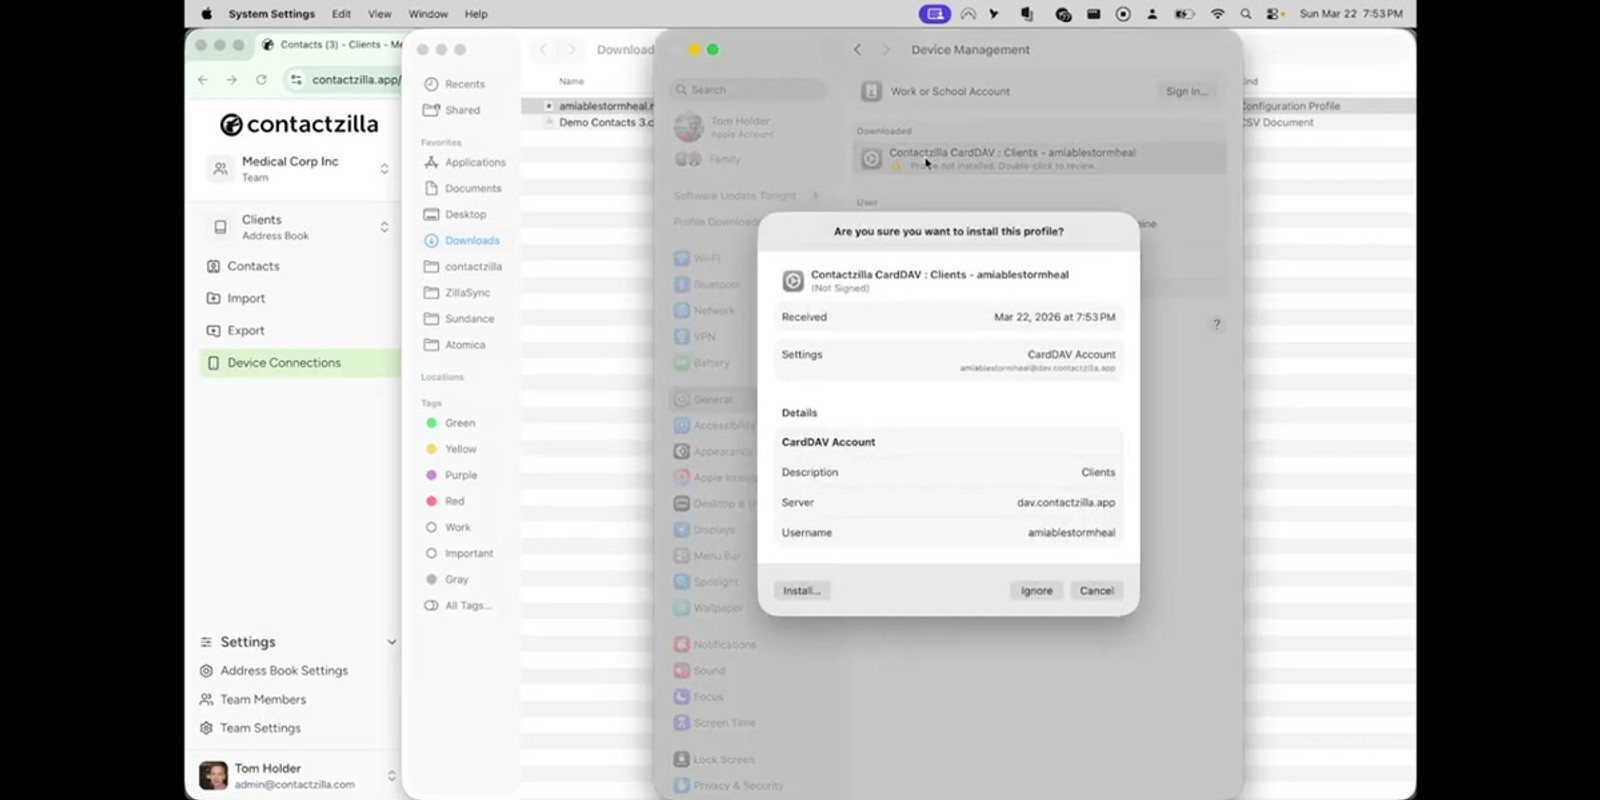
Click through to Profiles. You'll see the new Contactzilla profile listed with an indicator that it's been downloaded but not yet installed. Double-click the profile to begin installation. macOS will ask you to confirm — approve it, and the profile is installed.
At this moment, the Mac is connected to the Contactzilla address book at the CardDAV level. The profile has registered a new account in the Contacts app, but you won't see anything until you actually open Contacts.
- Open System Settings / System Preferences
- Look for Profile Downloaded in the left sidebar — appears only when pending
- Click through and double-click the listed profile to install
- Confirm installation when macOS prompts
If you don't see Profile Downloaded in the sidebar, check your Downloads folder and double-click the .mobileconfig again — sometimes the handoff to System Settings doesn't trigger on the first try.
Open Contacts and Verify the Address Book Synced
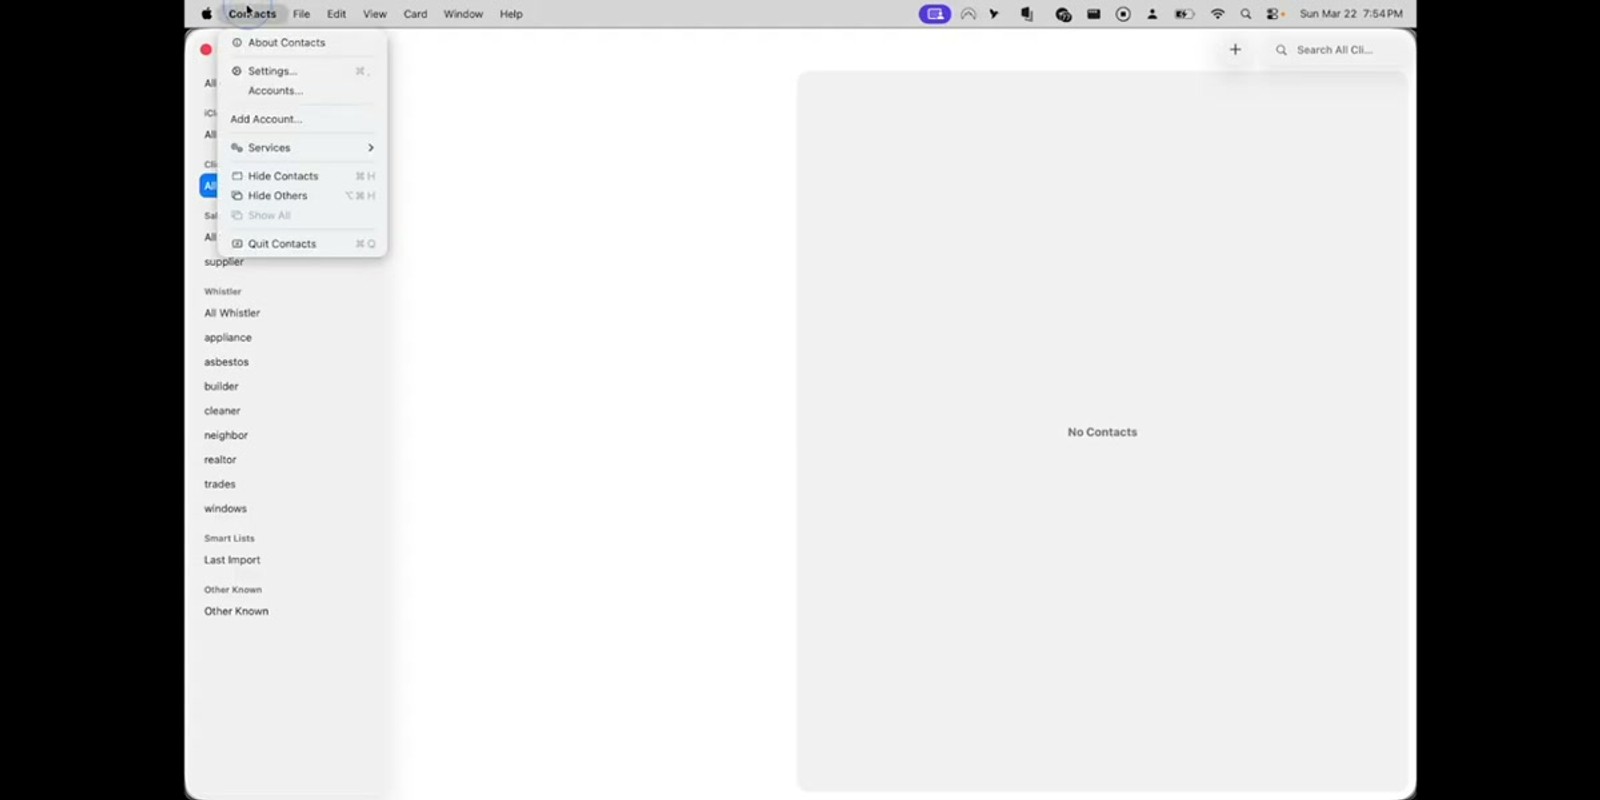
Launch the Contacts app on your Mac. In the sidebar, you'll see the new address book listed under your account — it'll have whatever name you gave it in Contactzilla (in the demo, it's the client's address book).
When you first click into it, it may appear empty while it's connecting. This is normal — macOS Contacts is performing its initial CardDAV sync against Contactzilla. For small address books this is near-instant; for larger ones, give it a minute.
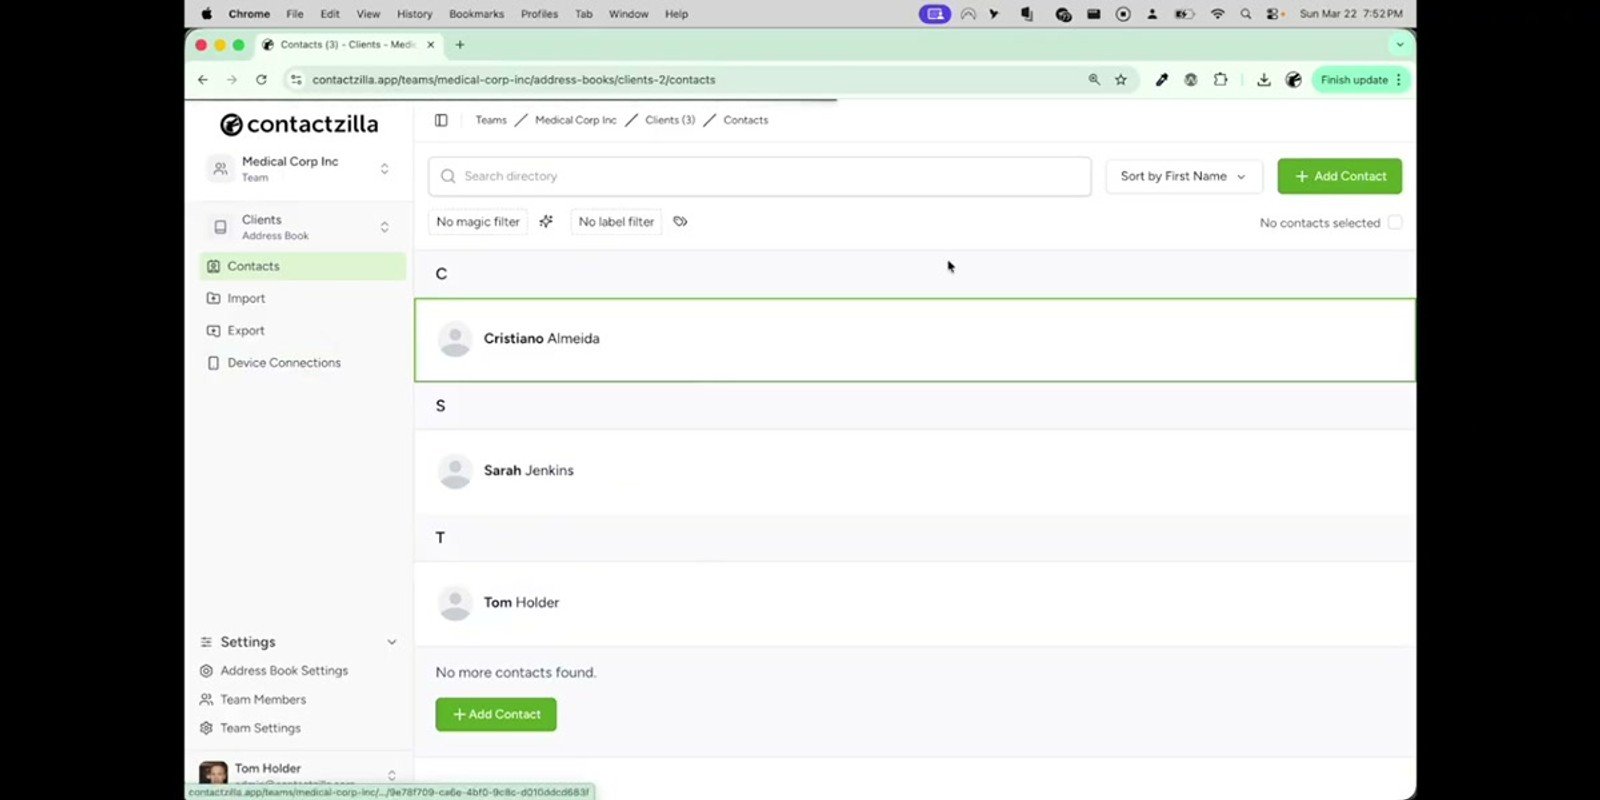
If the address book still looks empty after a moment, the presenter's tip is to close Contacts down and restart it. A fresh launch tends to kick the sync into life. Once it loads, every contact from the Contactzilla address book — the demo shows three contacts — appears in the Mac Contacts app, ready to view, search, and (with read/write access) edit.
- Open the Contacts app on the Mac
- Find the new address book in the sidebar
- It may look empty for a moment during the first sync
- If it stays empty, quit and reopen Contacts to force a refresh
- All contacts should appear once syncing completes
If contacts still don't appear after restarting Contacts, double-check the device connection hasn't been revoked in Contactzilla and that the Mac actually has internet access — CardDAV needs a live connection to Contactzilla's servers.
.mobileconfig file lives in ~/Downloads — double-click to hand off to macOS