Centralized Contact Management Deployed to Every Device in Three Steps
Build your team structure, import and organize contacts, then push them to hundreds or thousands of phones — all from one dashboard.
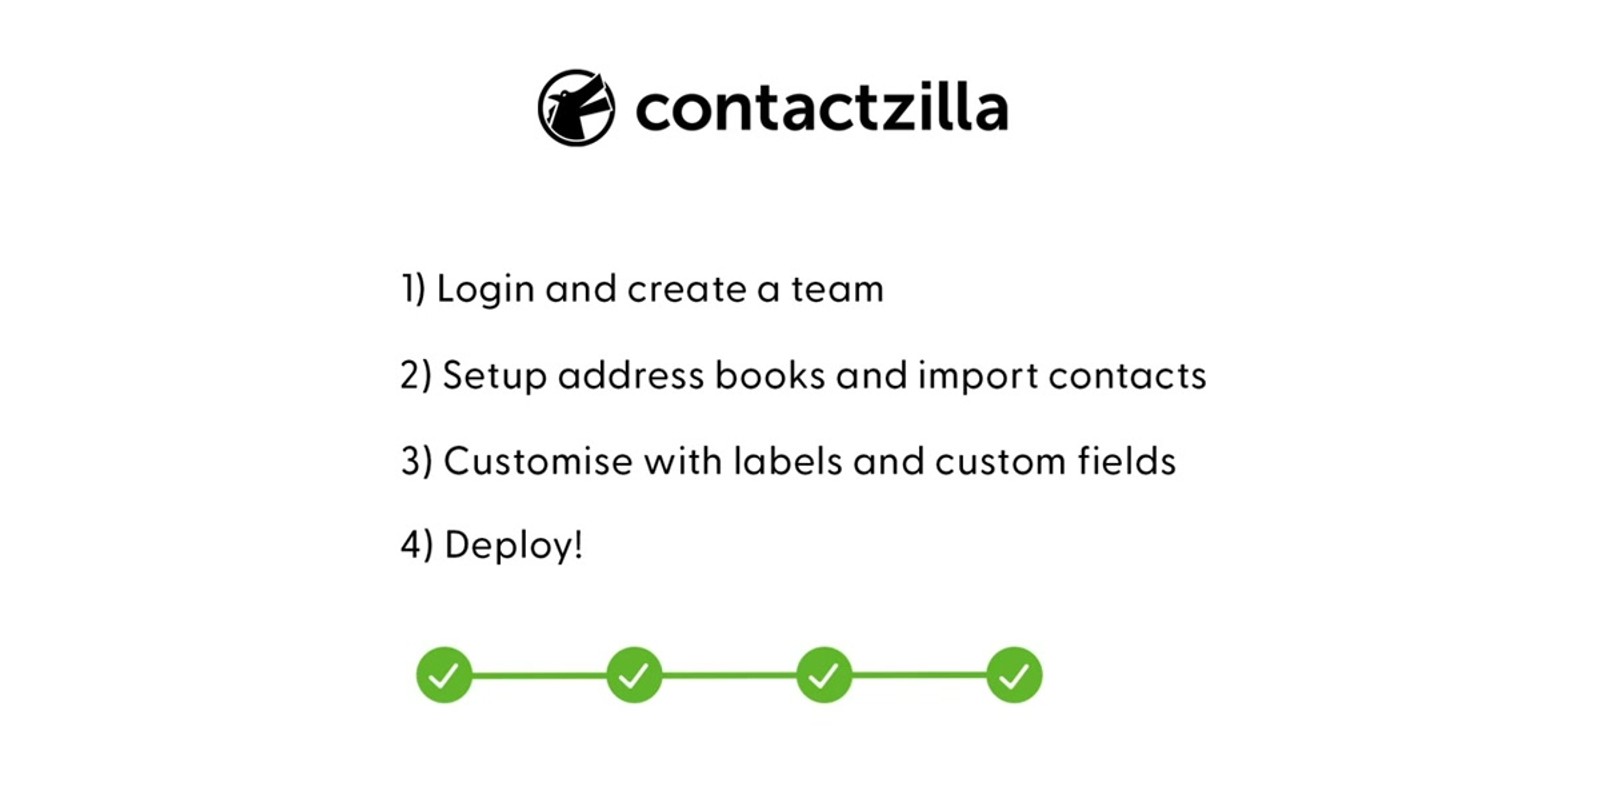
Contactzilla V2 is built around a simple three-step workflow that takes you from a blank account to fully deployed contact lists on every phone in your organization. Whether you're managing a small department or rolling out to thousands of devices through an MDM solution, the process is the same.
This quick start guide walks through the essential concepts: creating your team and address books, importing and organizing contacts with labels, tags, and custom fields, and finally deploying those contacts to iOS and Android devices. Each step builds on the last, so by the end you'll have a clear picture of how the entire system fits together.
The videos that follow in the Contactzilla series break down each step in granular detail, but this overview gives you everything you need to understand the platform's core workflow and get started today.
Step 1: Create Your Team
The first thing you'll do in Contactzilla is create a Team. A team represents your organization or department — it's the top-level container for everything else in the system.
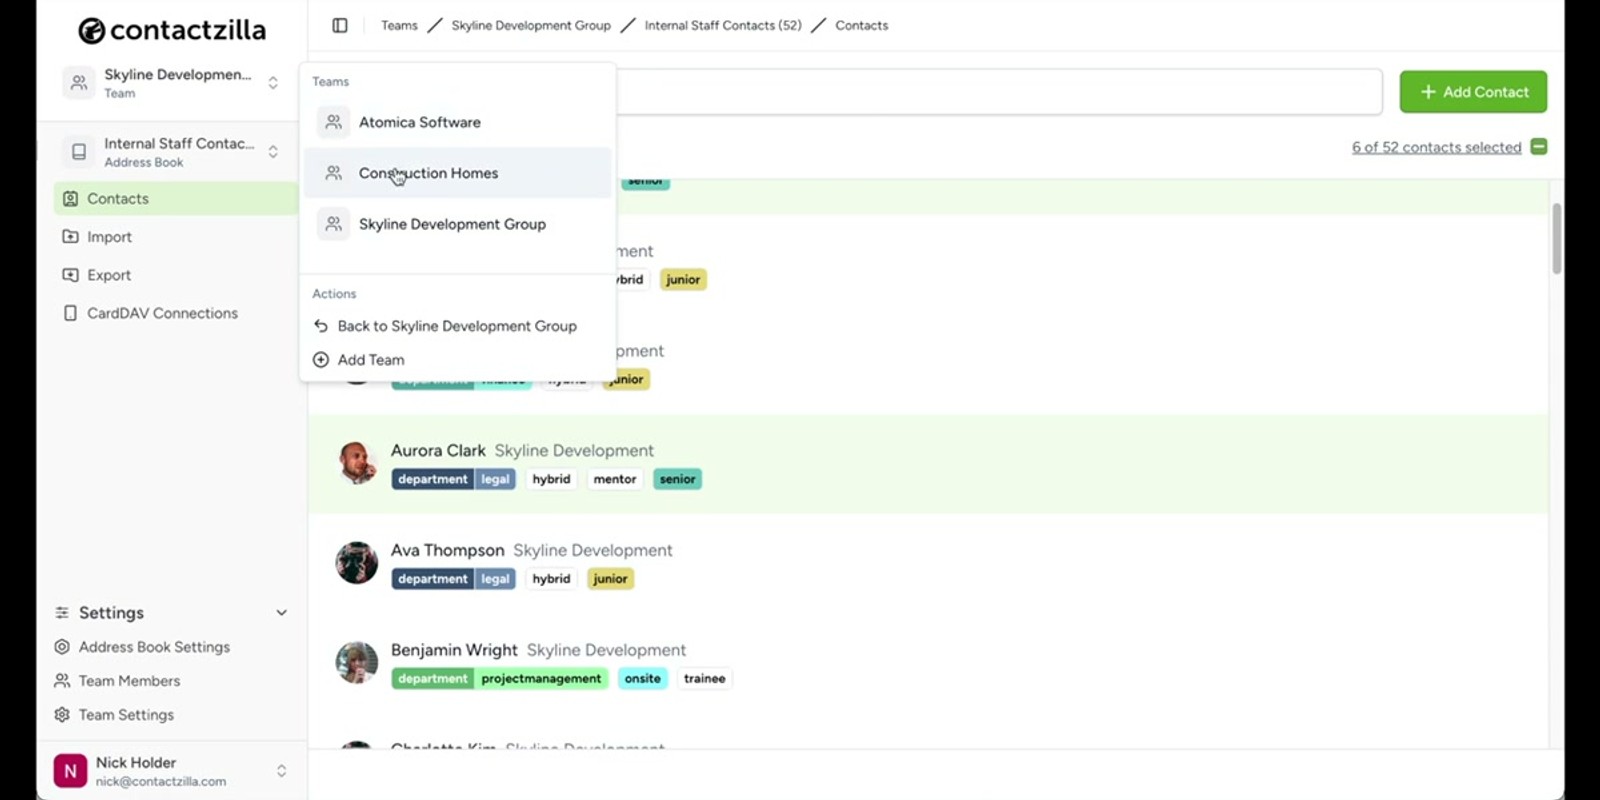
For example, in the video a team called Skyline Development Group is set up to represent an imaginary property development company. You can name your team whatever suits your organization: a company name, a department, a division.
Once your team is created, you'll invite team members — the people in your organization who need access to contacts. Contactzilla gives you granular control over who can see what, so team members don't automatically get access to everything.
- Log into your Contactzilla account and create your first team
- Name the team after your organization or department
- A team is the top-level container for all address books and contacts
- You can invite team members and control their access levels individually
Step 2: Create Address Books and Import Contacts
Within your team, you create Address Books — these are collections of contacts grouped however suits your organization. Think of them as separate contact lists for different purposes.
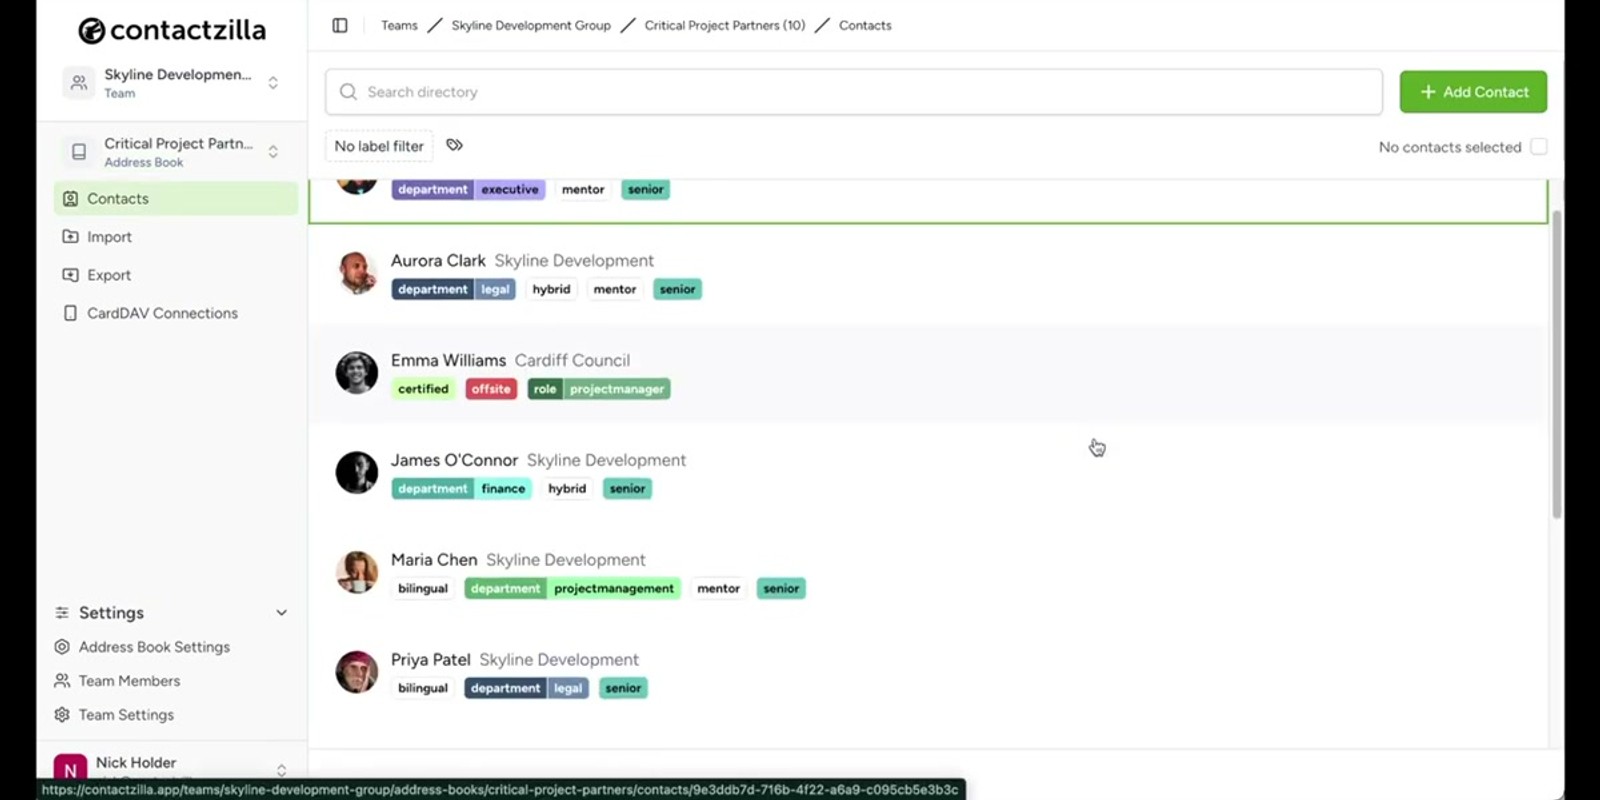
In the demo, Skyline Development Group has address books for internal staff, critical partners, and other groupings. You might organize yours by department, by project, by client group, or any other structure that makes sense.
Once your address books are set up, you import contacts into them. Contactzilla supports several import methods: adding contacts manually one by one, uploading a CSV file for bulk imports, or importing vCards. Choose whichever method matches how your contacts are currently stored.
- Create address books within your team to group contacts logically
- Examples: internal staff, critical partners, vendors, clients
- Import contacts via manual entry, CSV upload, or vCard import
- Each address book is an independent collection you can share selectively
Organize your address books around who needs access to them — since you control access per address book, a clean structure here makes deployment much easier later.
Step 3: Control Access Levels for Team Members
When you invite team members, you're in complete control over which address books they can see and what they can do with them. Contactzilla offers two access levels: Full Access and Read Only.
Full Access lets a team member view, edit, and manage contacts in that address book. Read Only means they can see the contacts but can't make changes — ideal for field staff or team members who just need phone numbers and emails without the ability to modify records.
You assign access on a per-address-book basis, so one team member might have full access to the internal staff list but read-only access to critical partners.
- Assign access per team member, per address book
- Full Access — view and edit contacts
- Read Only — view contacts without editing capability
- Different team members can have different access levels to the same address book
Step 4: Customize Contacts with Labels, Tags, and Custom Fields
Once your contacts are imported, Contactzilla's organization tools let you add structure and metadata. This step is entirely optional — you can skip straight to deployment if you don't need it — but it's powerful for larger organizations.
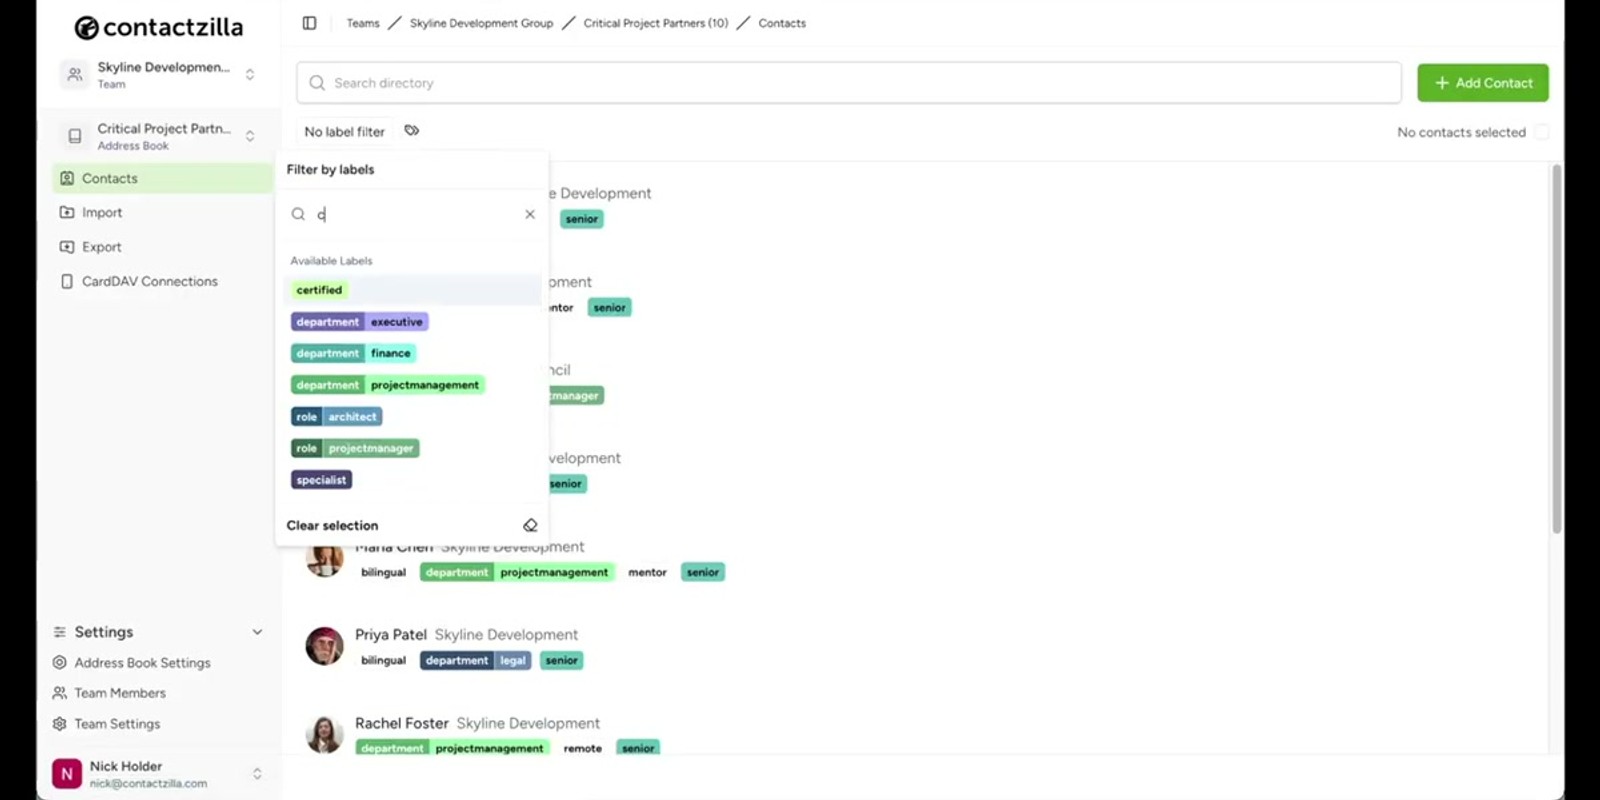
Labels let you categorize contacts for easy filtering. Think of them as color-coded markers you can apply to quickly find subsets of contacts within an address book.
Group Tags let you create special groupings that cut across your contact lists. These are useful when you need to identify contacts that share a characteristic regardless of which address book they're in.
Custom Fields can be anything your organization needs: badge numbers, employee IDs, internal reference codes, or any other data point that isn't covered by standard contact fields like phone and email.
- Labels — categorize contacts for easy filtering
- Group Tags — special groupings across contacts
- Custom Fields — add badge numbers, employee IDs, or any custom data
- This entire step is optional — skip to deployment if you don't need it
Labels become especially powerful when combined with device connections — advanced device connections can use labels to filter which contacts get pushed to specific devices.
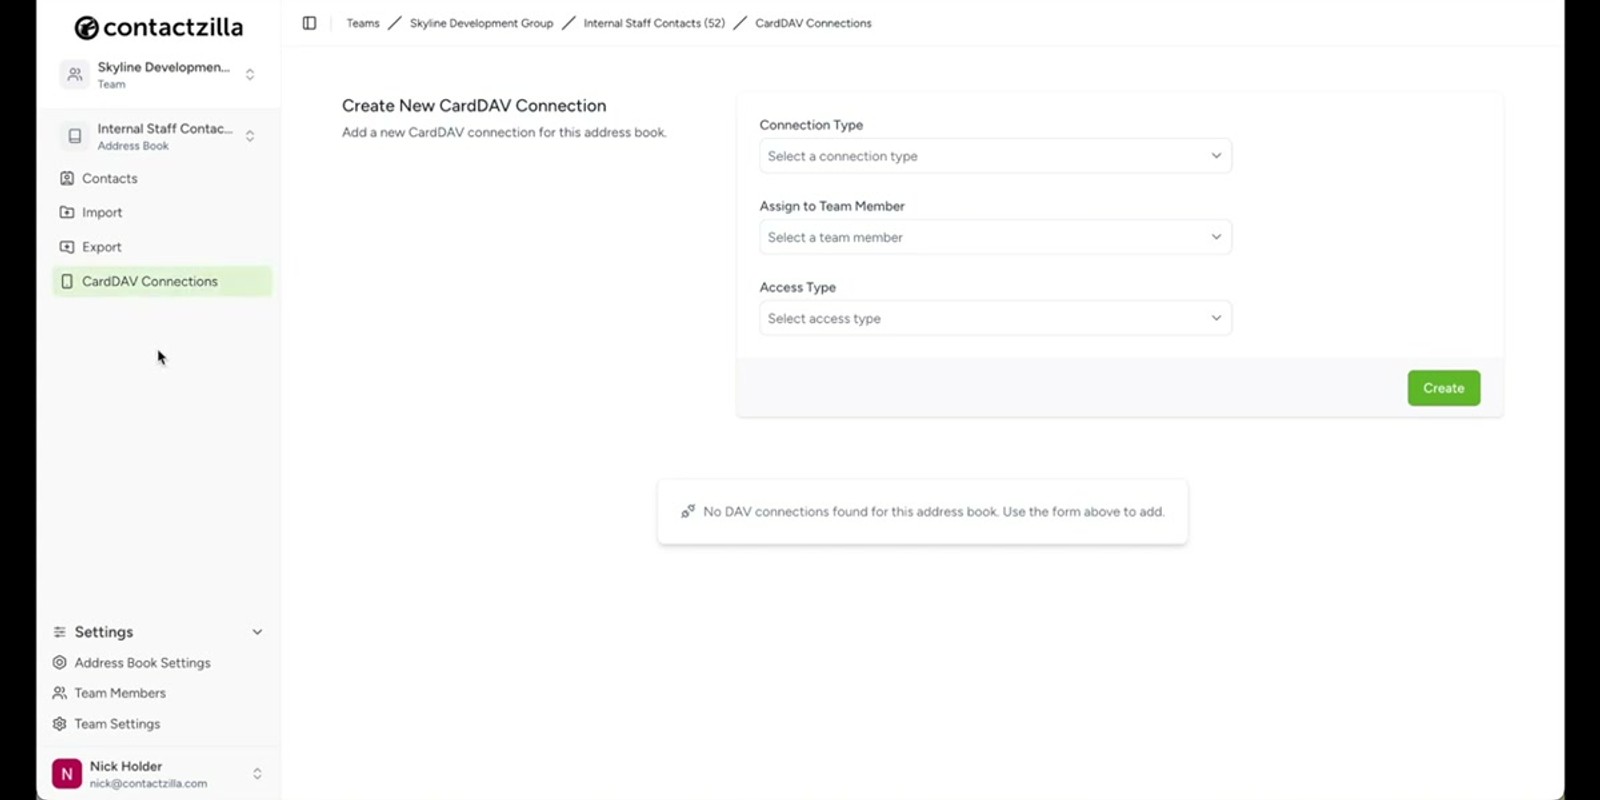
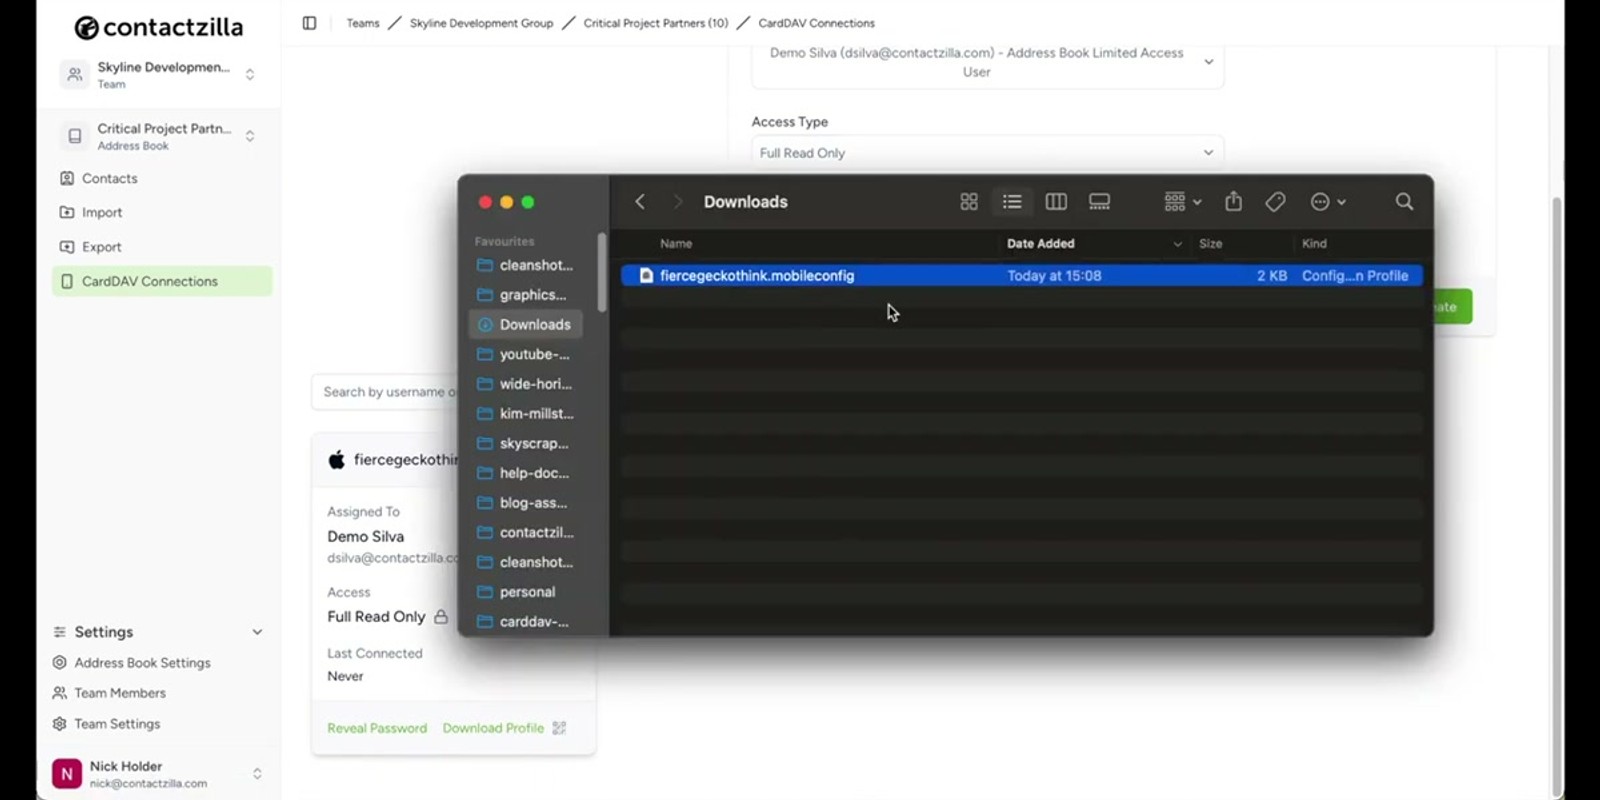
Step 5: Create a Device Connection (Manual Push)
Deployment starts by creating a Device Connection. This is where you select which address book to push and to which platform — iOS or Android.
For a manual push to individual team members, you select the specific people who should receive the contacts and set their access level for that connection. Once you've configured the connection, hit Create and Contactzilla generates a provisioning profile.
You then download this provisioning profile and send it to the team member's phone. On the device, the user taps to open the profile, and the contacts appear directly in the native phone app — no separate Contactzilla app required. The contacts show up right alongside personal contacts in the standard iOS Contacts or Android Contacts app.
- Create a new device connection from the dashboard
- Select the address book to deploy
- Choose iOS or Android as the target platform
- Select specific team members and set their access level
- Hit Create to generate the provisioning profile
- Download the profile, send it to the device, tap to install
Contacts appear in the native phone app — there's no separate app to install. Team members see the contacts right in their standard Contacts app.
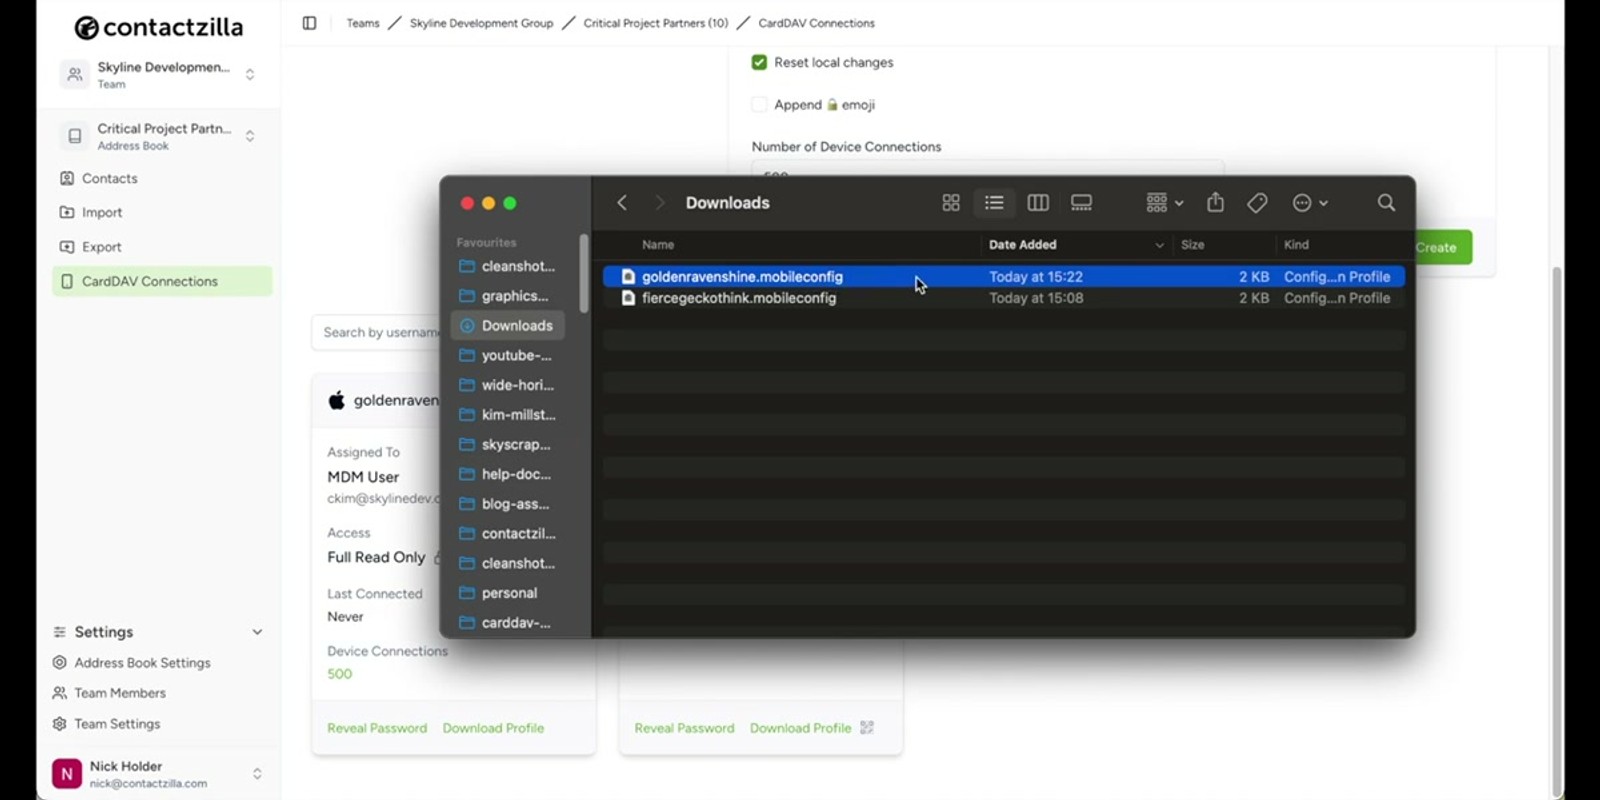
Step 6: Deploy at Scale via MDM
For organizations deploying to hundreds or thousands of devices, Contactzilla integrates with MDM (Mobile Device Management) software. Instead of manually sending profiles to individual phones, you assign the device connection to an MDM user, set the number of devices, and hit Create.
After creating the connection, you download the profile which contains everything your MDM software needs to deploy the contacts across your entire fleet. Contactzilla works with major MDM platforms including Microsoft Intune, MaaS360, Jamf (JF), and others.
This is the same provisioning profile mechanism as manual deployment — the difference is that your MDM software handles distributing it to devices at scale rather than you sending it to individuals one by one.
- Assign the device connection to an MDM user instead of individual team members
- Set the number of devices for the deployment
- Download the provisioning profile for your MDM software
- Compatible with Microsoft Intune, MaaS360, Jamf, and other MDM platforms
- Same profile format — MDM just handles distribution at scale
Recap: Getting Started Today
To begin using Contactzilla today, the complete workflow is straightforward. Log into your account, create your first team, set up your address books, and import your contacts. Optionally customize them with labels and group tags. Then create your first device connection and deploy.
The result is centralized contact management across your entire organization. Any updates you make to contacts in Contactzilla flow through to deployed devices, keeping everyone in sync with the latest information.
Contactzilla's follow-up video series dives deeper into each step, from onboarding team members to setting up advanced device connections with labels — which let you filter exactly which contacts from an address book get pushed to specific devices or groups.
- Create team → Create address books → Import contacts
- Optionally add labels, tags, and custom fields
- Create device connection → Download profile → Deploy
- Updates to contacts flow through to all deployed devices
- Follow-up videos cover advanced topics like label-based device connections
Frequently Asked Questions
Do team members need to install a Contactzilla app on their phones?
No. Contactzilla deploys contacts via a provisioning profile that installs them directly into the native phone app — standard iOS Contacts or Android Contacts. There's no separate app to install or manage.
What import methods does Contactzilla support?
You can add contacts manually one by one, upload a CSV file for bulk imports, or import vCards. Choose whichever method matches how your contacts are currently stored.
Is the customization step (labels, tags, custom fields) required?
No, it's entirely optional. You can skip straight from importing contacts to creating device connections and deploying. Labels, group tags, and custom fields are there for organizations that need more structure and filtering capability.
Which MDM platforms does Contactzilla work with?
Contactzilla works with major MDM platforms including Microsoft Intune, MaaS360, Jamf, and others. The provisioning profile it generates is compatible with standard MDM deployment workflows.
Can different team members have different access levels to the same address book?
Yes. Access is controlled per team member, per address book. One person can have Full Access (view and edit) while another has Read Only access to the same address book.
What are advanced device connections with labels?
The quick start video mentions these as a topic covered in follow-up videos. Advanced device connections let you use labels to filter which specific contacts from an address book get pushed to particular devices or groups, giving you even more granular control over deployment.

