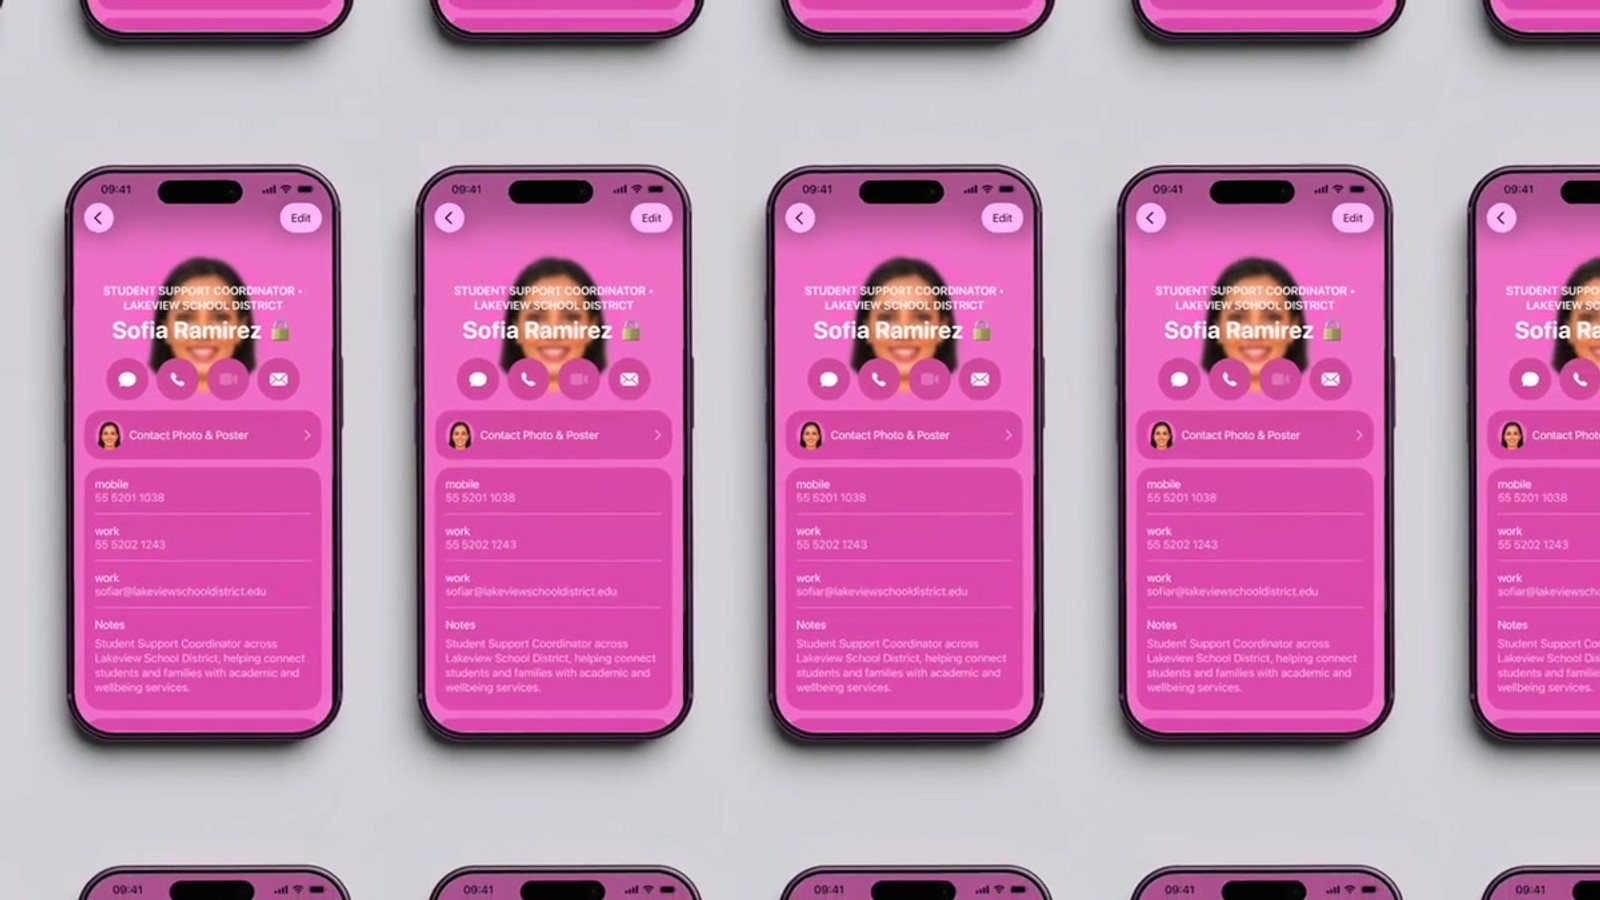
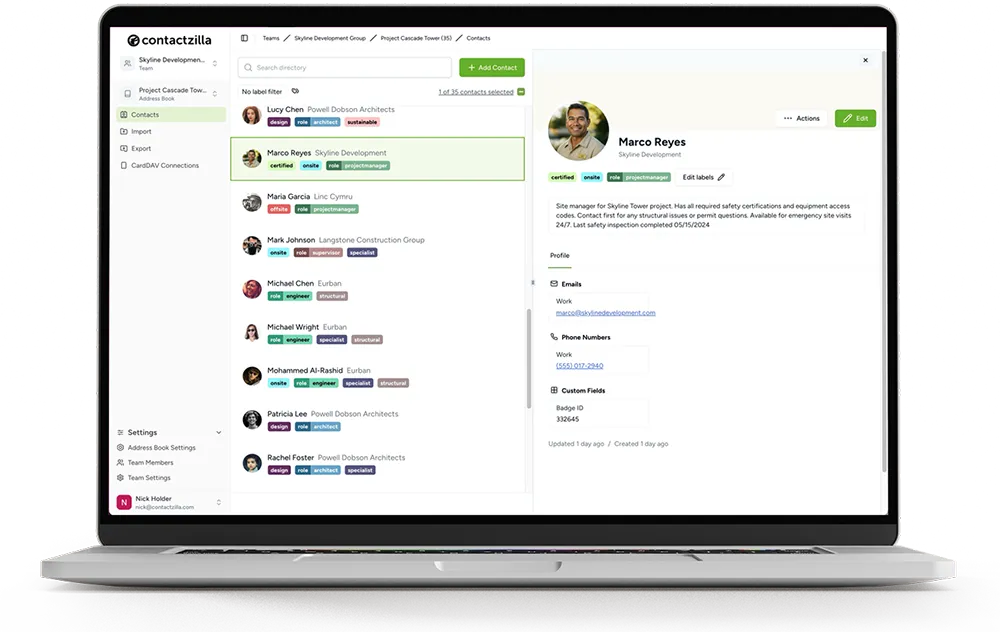
Deploy Address Books to Every iPhone in Your Fleet with Jamf
Stop fighting messy contact lists across your iOS devices. Manage one shared address book in Contactzilla, then deploy it through Jamf straight into the native iPhone Contacts app on every managed device.
Shared business contacts have a habit of going sideways the minute you have more than a handful of employees with iPhones. People copy them, edit them, delete them, miss updates when someone changes role — and before long every device in the fleet has a slightly different version of the company directory. If you're an IT or operations lead running Apple devices through Jamf, you already have the mechanism to fix that: managed configuration profiles. What you've been missing is a source of truth for the contacts themselves.
This guide walks through the Contactzilla + Jamf workflow shown in the video. You'll import or build your shared address book in Contactzilla, filter it down to exactly the contacts you want on devices, generate a device connection file, upload it to Jamf, and push it to your selected device groups. The result: every managed iPhone receives the contacts directly inside the native Contacts app — no third-party app to install, no user training, no per-device setup.
The whole loop takes minutes the first time, and seconds for subsequent updates. When you change a contact in Contactzilla, the next push (or scheduled sync) updates every device instantly.
Step 1: Import your contacts into Contactzilla
Start inside Contactzilla by getting your contacts into a single address book that will act as the source of truth for your fleet. You can import from a CSV export of your existing CRM, Google Workspace, Microsoft 365, or another address book — Contactzilla handles the standard vCard fields (name, company, job title, phone numbers, email addresses, postal addresses, notes) so nothing is lost in translation.
If you're starting from scratch, you can also build the address book by hand or invite colleagues to contribute. Either way, the goal at this stage is to have one canonical list that represents "the contacts our team needs on their phones" — the suppliers, internal extensions, key clients, on-call numbers, and so on.
- Create or open an address book that will hold the shared contacts
- Import via CSV, vCard, or one of the supported integrations
- Standardise field formatting (phone numbers in E.164 where possible) before pushing
- Decide who in your team has edit rights vs. read-only access
Keep the deployable address book separate from any personal or experimental books. You don't want a half-finished test contact landing on 200 iPhones.
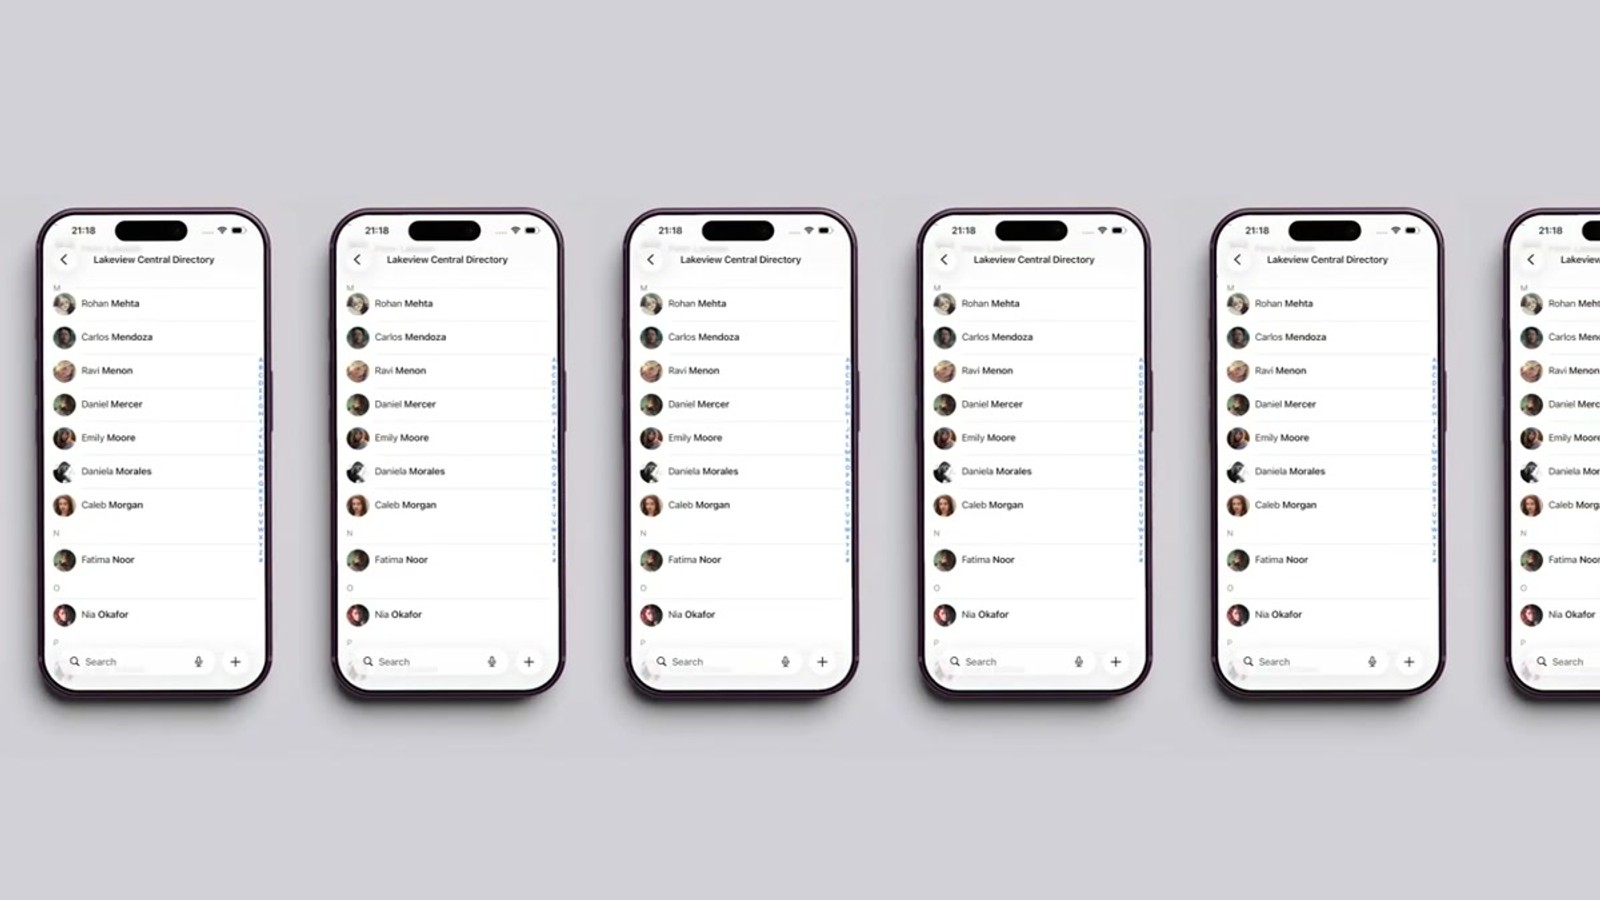
Step 2: Filter and organise the contacts you want deployed
Not every contact in Contactzilla needs to land on every device. Use the filtering and organisation tools to narrow the list down to the people you actually want appearing in employees' iPhone Contacts. You might filter by department, by tag (sales, support, on-call), by company, or by any custom field you've added.
Think of this step as deciding the *scope* of the deployment. The sales team's iPhones might receive the customer-facing contact set; the engineering team's iPhones might receive the on-call rota and supplier contacts. You can deploy different filtered subsets to different Jamf device groups in step 4.
- Apply tags or labels so you can re-filter the same way later
- Use search and saved filters to preview exactly what will be deployed
- Remove duplicates and verify phone-number formatting before locking down
- Confirm the final count of contacts matches what you expect
If you maintain multiple deployment sets, name them clearly (e.g. Fleet — Sales, Fleet — Engineering) so future-you knows which connection feeds which Jamf smart group.
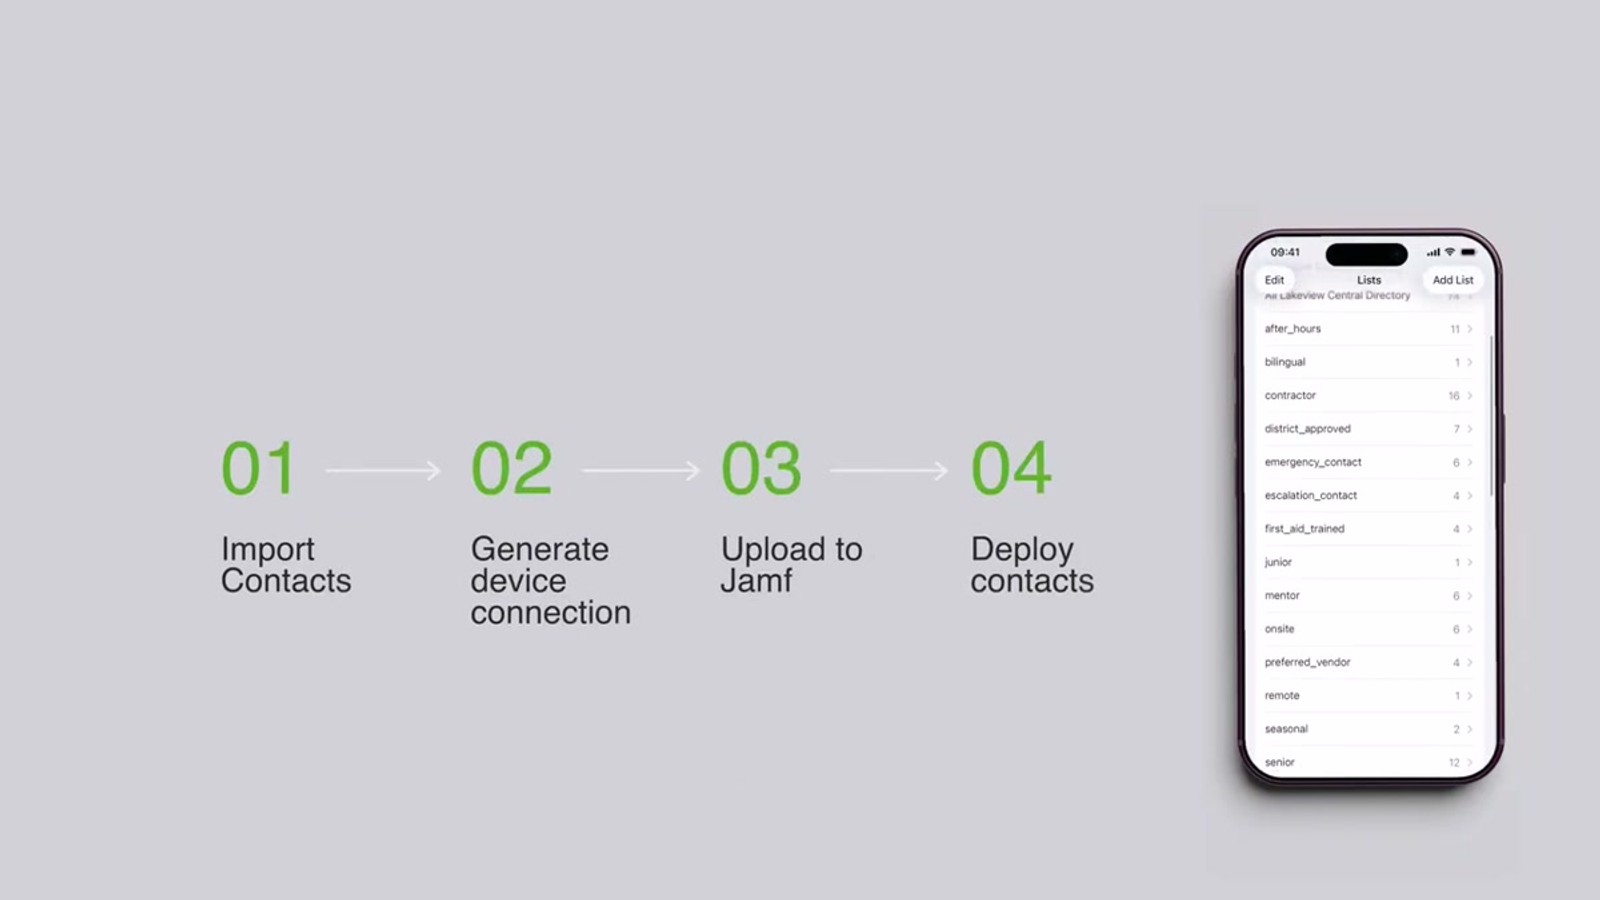
Step 3: Lock down the contact list before rollout
Once you're happy with the filtered set, lock it down so users can't edit, delete, or pollute the managed contacts on their device. This is the key difference between sharing a vCard over email and deploying through Jamf — the contacts arrive as managed records that the user cannot modify, and that the MDM can later remove cleanly.
Inside Contactzilla you're preparing the address book for managed delivery. The video shows this step as a deliberate "lock down" moment: you're effectively freezing the source of truth and saying *this* is the version that goes to devices. Any future edits flow back through Contactzilla rather than being made directly on the iPhone.
- Treat the deployed address book as read-only at the device level
- Future changes are made in Contactzilla, then re-pushed via Jamf
- Users cannot accidentally delete or overwrite managed contacts
- Removing the Jamf profile cleanly removes the contacts — no orphaned data
Communicate this to your team before the first rollout: managed contacts will appear automatically and can't be edited locally. It saves a wave of "why can't I change this number?" tickets.
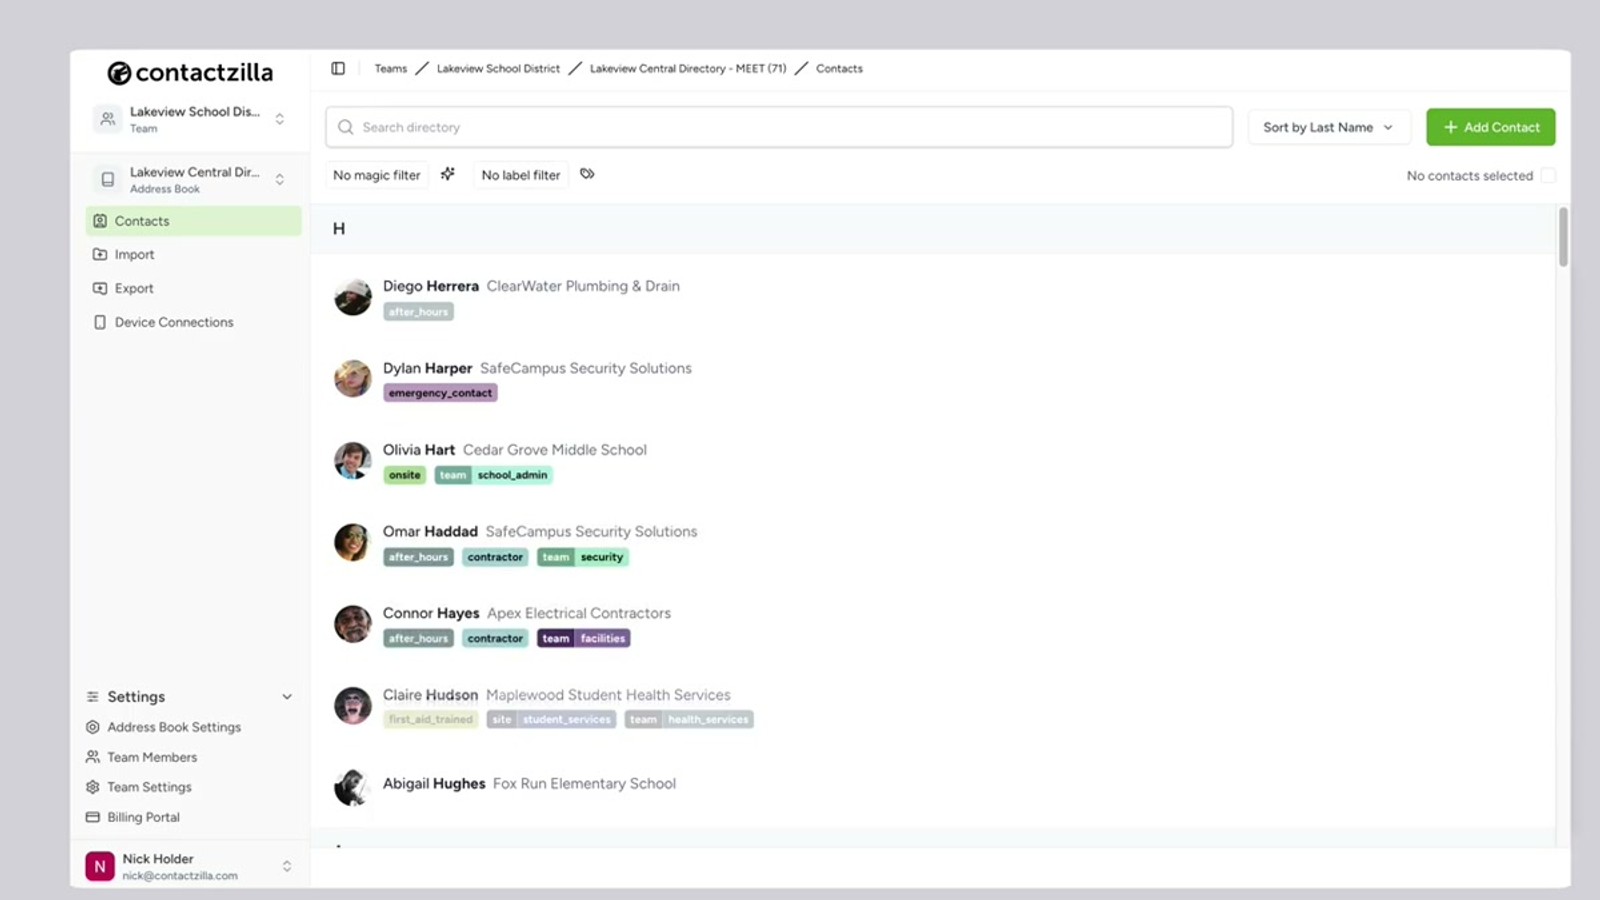
Step 4: Download your Contactzilla device connection
With the address book ready, generate and download the Contactzilla device connection from inside the platform. This is the file Jamf will use to subscribe each managed iPhone to your address book. It contains the credentials and endpoint information needed for the device to pull contacts on a recurring basis — meaning subsequent updates in Contactzilla flow to devices without you re-uploading anything.
Keep this file safe. It effectively grants read access to the address book you just locked down, and is intended to be consumed by your MDM rather than shared with end users.
- Generate the device connection from your locked-down address book
- Download the file to a location your Jamf admin can access
- Treat it like a credential — don't email it around or commit it to git
- One connection per address book; re-download if you ever rotate credentials
If you're deploying multiple subsets (e.g. Sales vs. Engineering), generate a separate device connection per subset. Don't try to multiplex one connection across mismatched device groups.
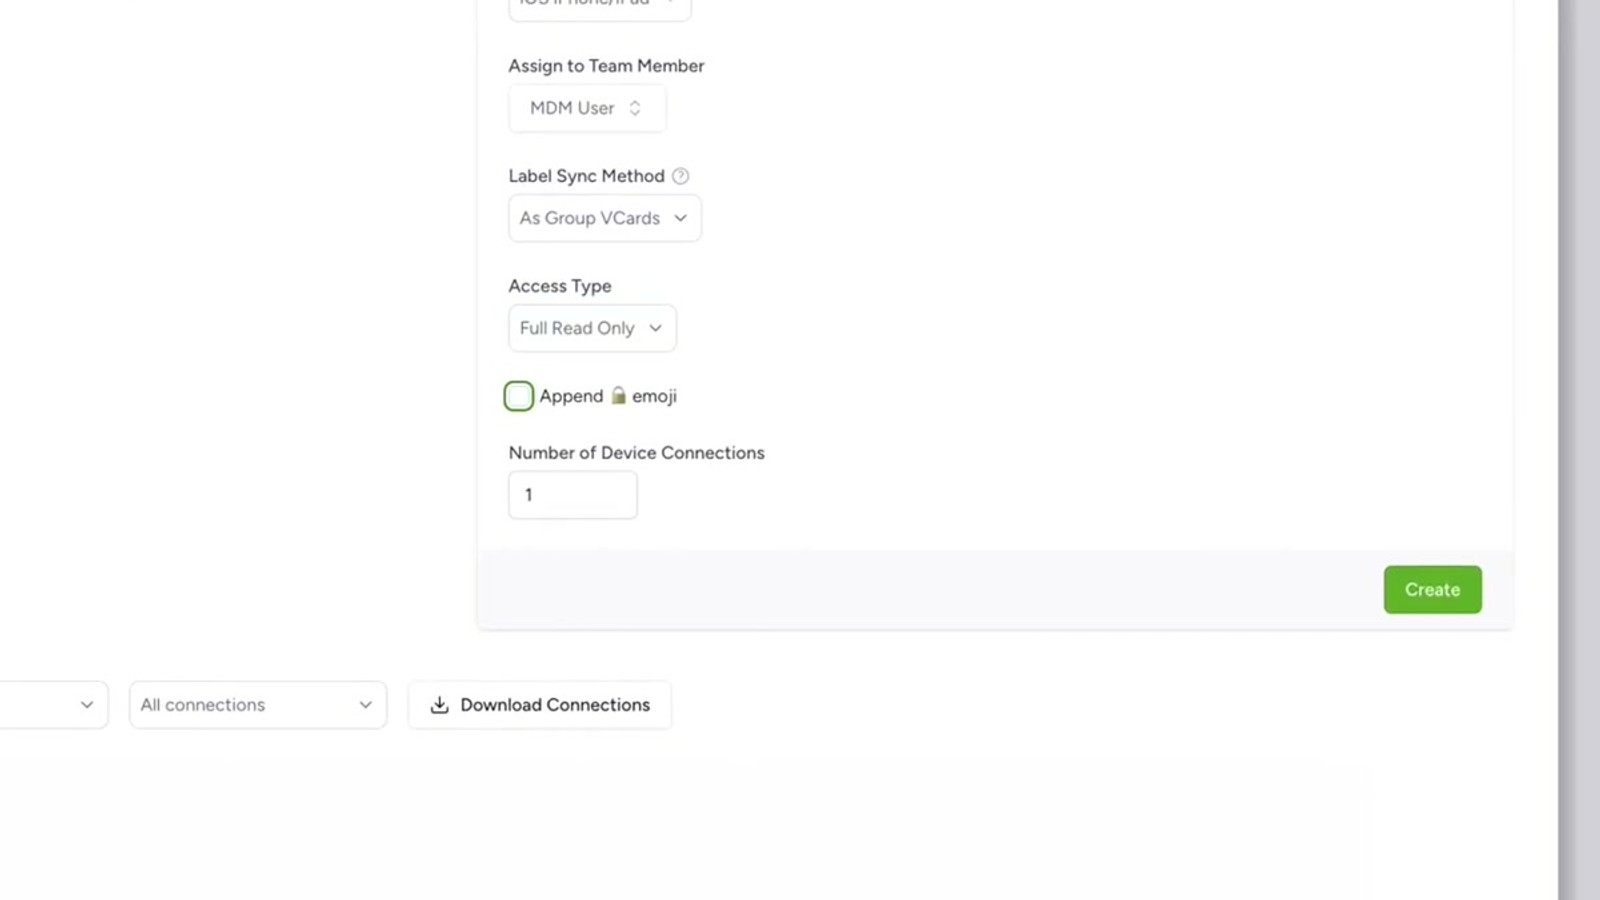
Step 5: Upload the connection to Jamf
Switch over to your Jamf Pro console and upload the device connection file. In Jamf terms this becomes a configuration profile that delivers the contact subscription to enrolled iOS devices. You attach it to a scope — the set of devices, users, or smart groups that should receive it — and Jamf takes care of distributing it to every matching iPhone in your fleet.
Because this is a managed profile, the contacts arrive in the native Contacts app alongside the user's personal contacts but flagged as managed. They appear in search, in caller ID, in Messages, in Mail autocomplete — anywhere iOS surfaces contact data — without any app to install or user action required.
- Create a new configuration profile in Jamf Pro using the Contactzilla connection
- Set the scope to the smart group or static group that should receive the contacts
- Optionally limit to specific user groups, sites, or buildings
- Save and let Jamf hand the profile to enrolled devices
Test on a single pilot device first by scoping to one user before rolling out fleet-wide. It's the cheapest way to catch a misformatted phone number or a wrongly-tagged contact.
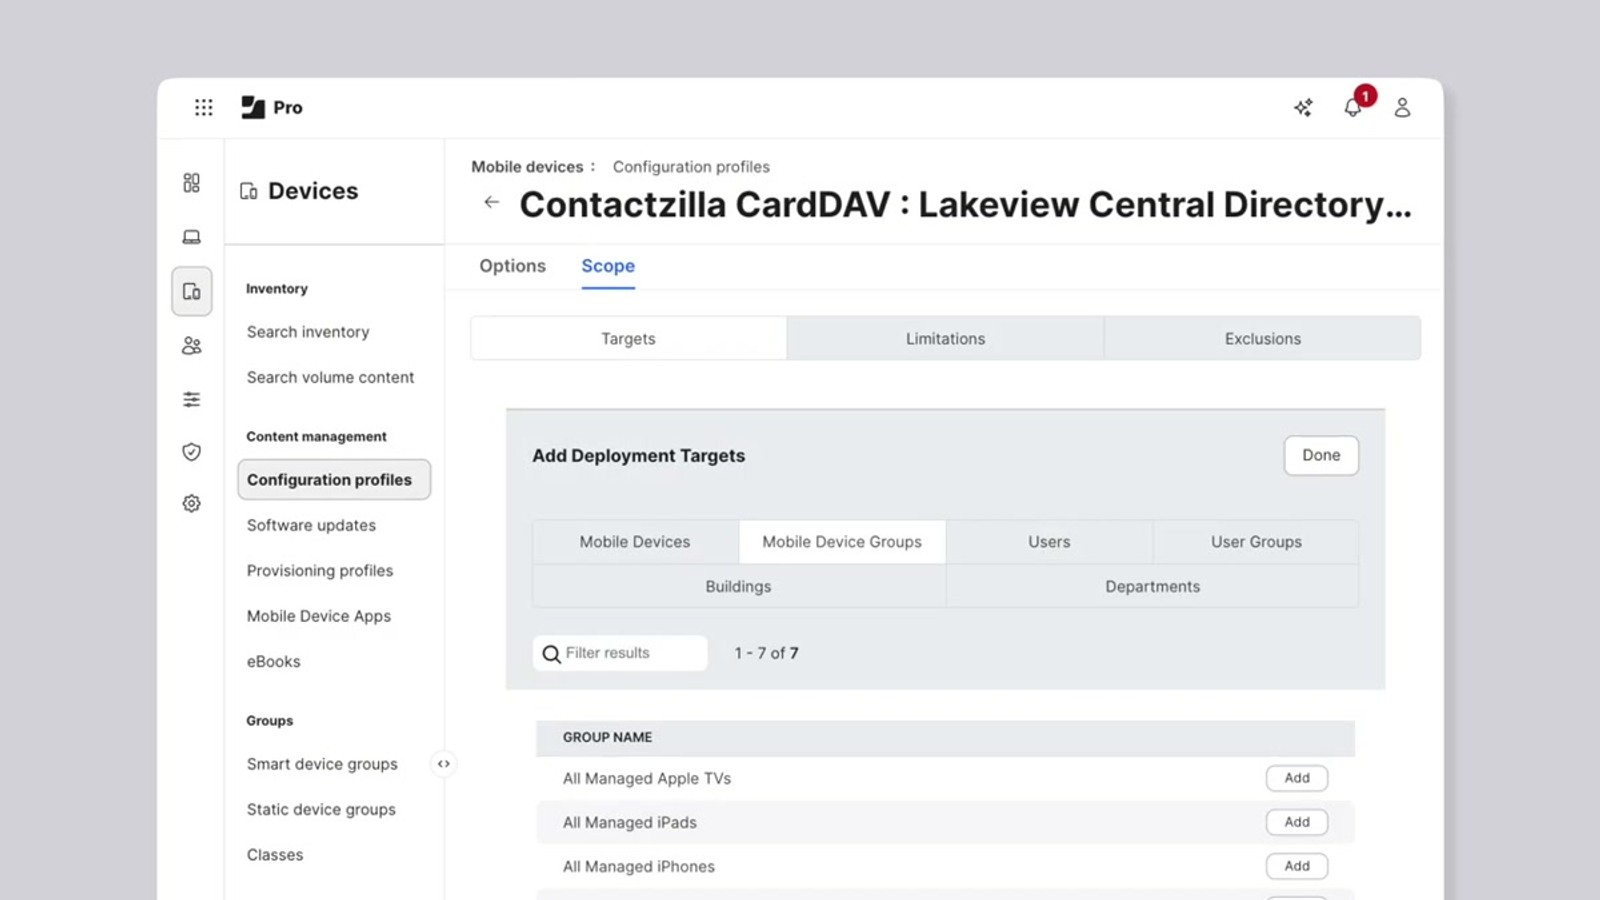
Step 6: Push to your selected devices
Trigger the push from Jamf and the profile rolls out to every device in scope. On managed iPhones, the contacts appear in the native Contacts app within minutes — usually as soon as the device next checks in with Jamf. No tap-through, no "trust this profile" dialog for the user (assuming the device is already enrolled and supervised), and no third-party app icon cluttering the home screen.
From this point on, your team is updated instantly whenever you change a contact in Contactzilla. Add a new supplier? It shows up across the fleet. Someone changes role and gets a new mobile? Edit once, every device reflects it. Remove the profile from a device in Jamf and the managed contacts disappear cleanly — useful when an employee leaves.
- Devices pick up the profile at their next Jamf check-in
- Contacts appear inside the native iPhone Contacts app
- Updates in Contactzilla propagate without re-uploading to Jamf
- Removing the profile removes the managed contacts cleanly
If a device doesn't receive the profile, force a check-in from Jamf (or from the Self Service app on the device) rather than waiting on the next scheduled poll.
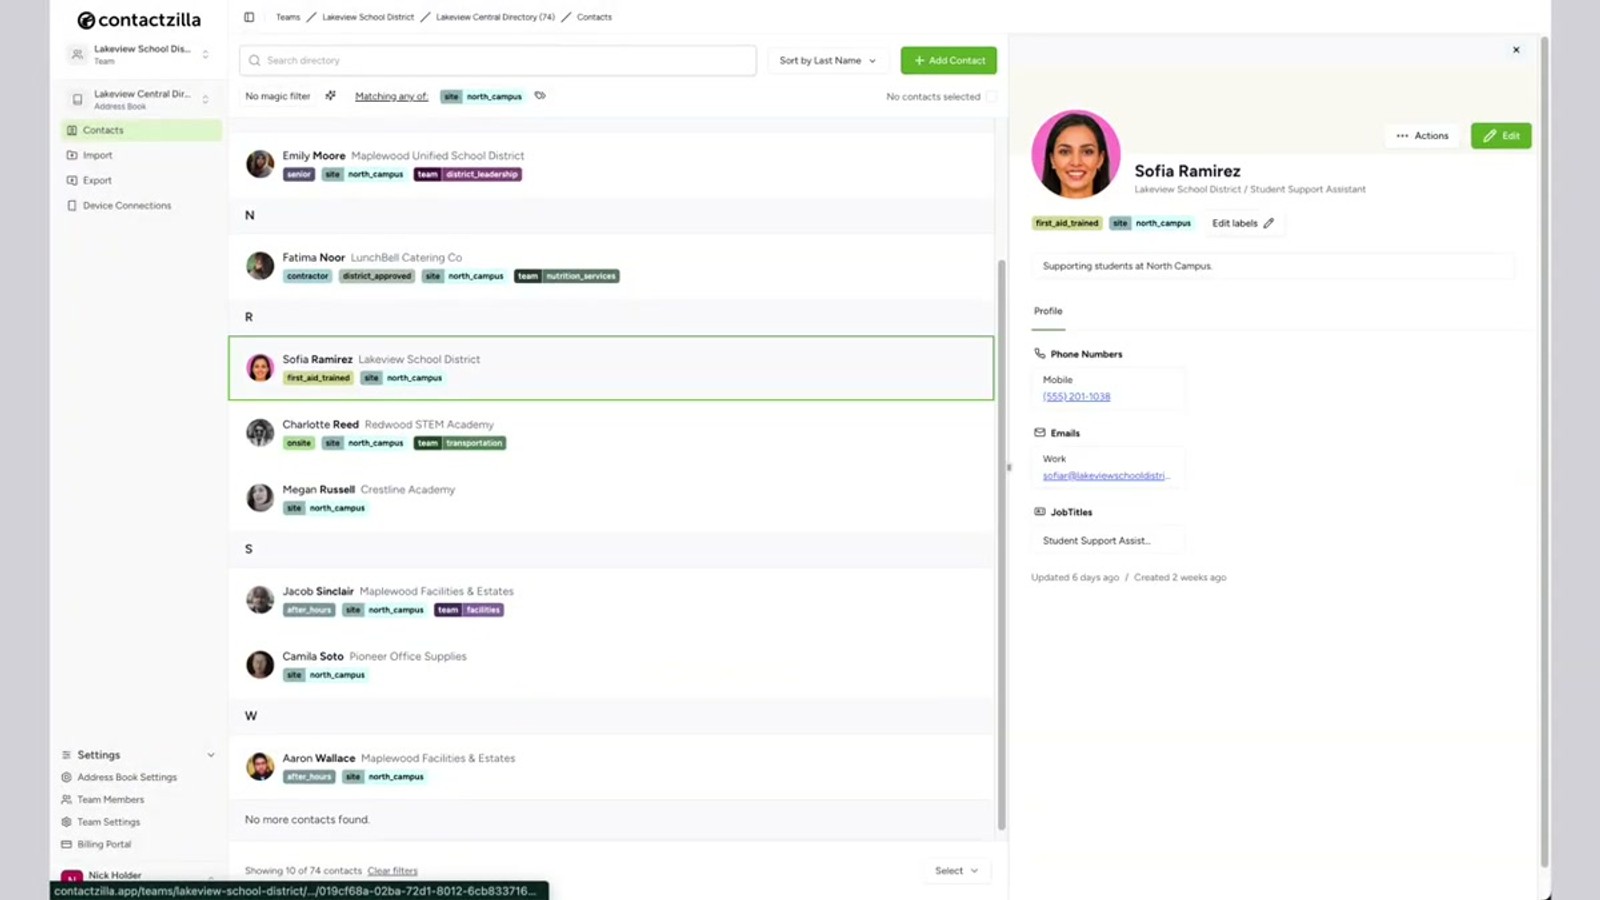
Step 7: Maintain the address book as the single source of truth
The integration only pays off if Contactzilla stays the canonical place where contacts are edited. Establish that habit with your team: new supplier, new client, changed phone number, retiring contact — all of it happens in Contactzilla, never directly on a device.
Because the device connection keeps devices subscribed to the live address book, you don't need to re-upload to Jamf every time something changes. You're just keeping the source of truth current, and the fleet follows along. This is the whole point of "managing contact lists at scale" — the operational cost of a contact change drops from "email everyone, hope they update" to "edit one record".
- Designate one or two people as owners of the deployable address book
- Route contact-change requests through them rather than letting users self-serve on devices
- Audit the address book quarterly — remove stale contacts, fix formatting drift
- Re-test the rollout on a pilot device after any large bulk change
If your organisation has compliance requirements around customer contact data, document the Contactzilla → Jamf flow as part of your data-handling policy. It's a clean, auditable chain.